Pre-Surgical Record Guide
The success of 3D planning is directly proportional to the precision of the records. Take the records at least 2 weeks before surgery, and read this guide before you start.
01Video
A video recording taken before orthognathic surgery is important for better planning of the operation. It is useful for:
- Facial analysis: dynamically evaluating the patient’s facial expressions, jaw movements, smile aesthetics and overall facial features.
- Speech analysis: evaluating jaw and muscle movements during speech and any speech problems.
- Understanding the patient’s expectations: it also lets us test whether the patient is sufficiently informed about the operation.
Questions we recommend asking the patient during the recording:
- Why did you decide to have surgery?
- What would you like to change about your face and teeth?
- What do you know about possible complications during and after surgery?
- What do you know about the post-operative period?
02Analogue Impression
Before collecting the remaining records, we recommend taking an alginate impression and checking one last time that the models come into a proper occlusion. Small discrepancies should be corrected with negative or positive coronoplasty to obtain a stable occlusion. While taking the impression, undercut areas between brackets and gingiva should be carefully blocked out with pink wax so the alginate does not tear, and impression adhesive should be applied to the tray beforehand.
03Intraoral Scan
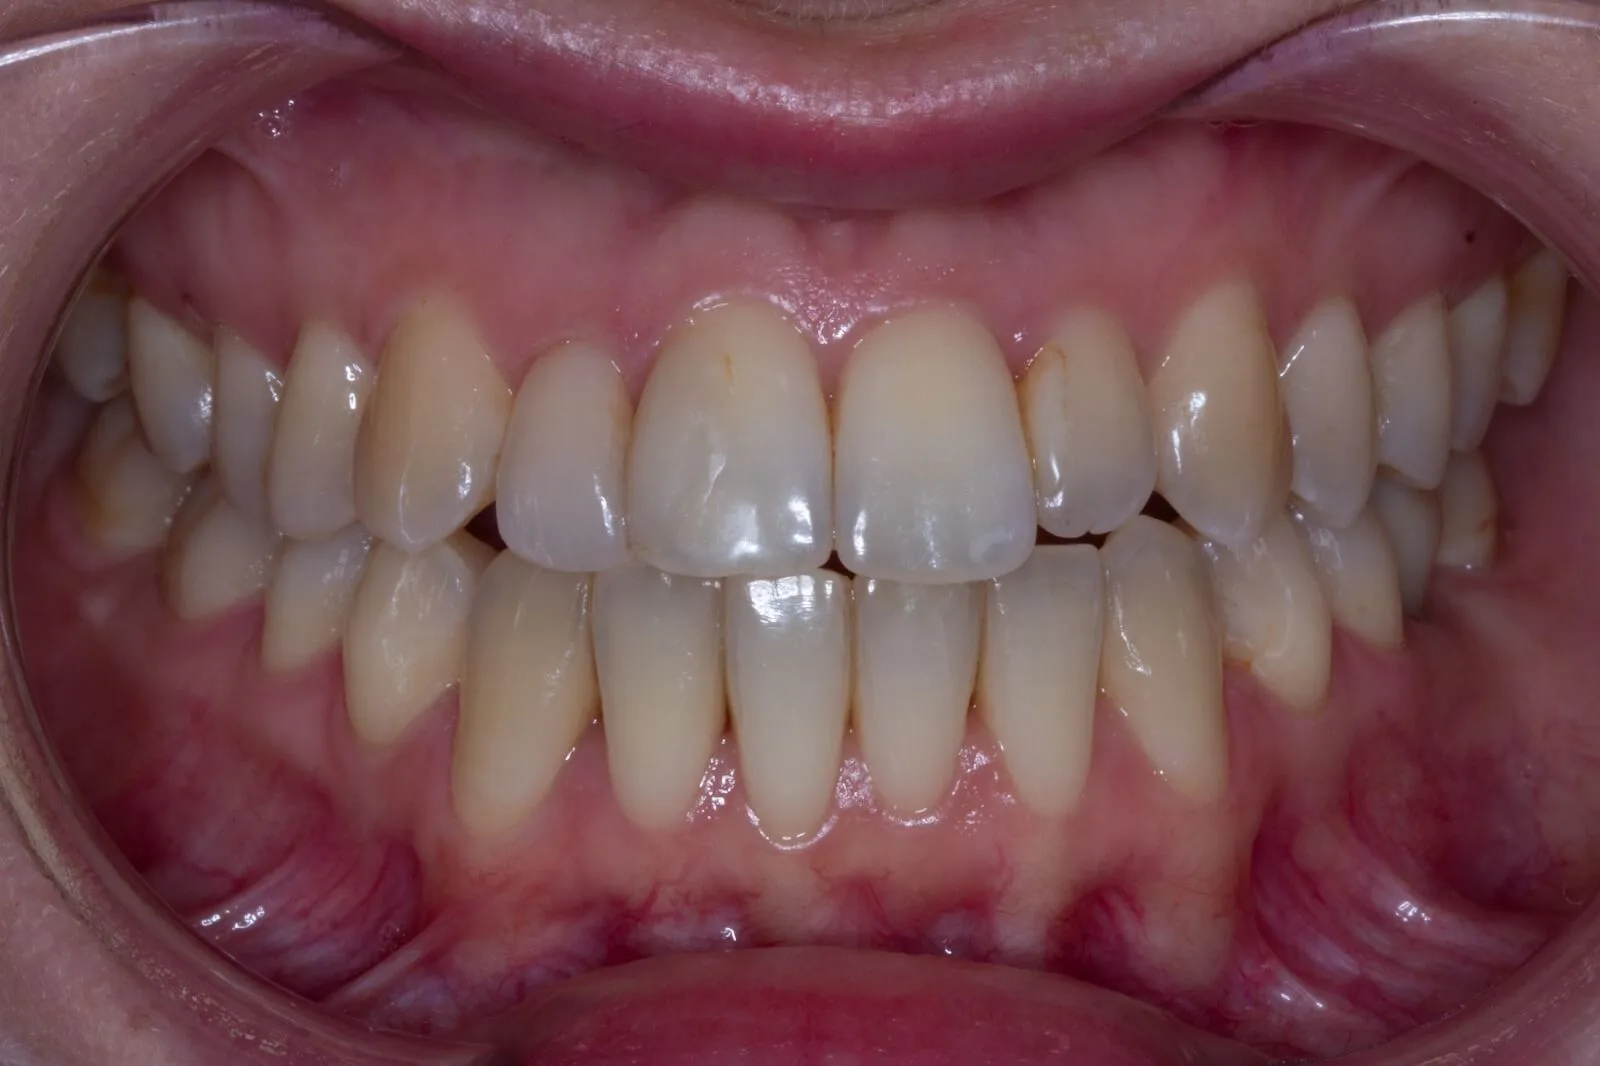
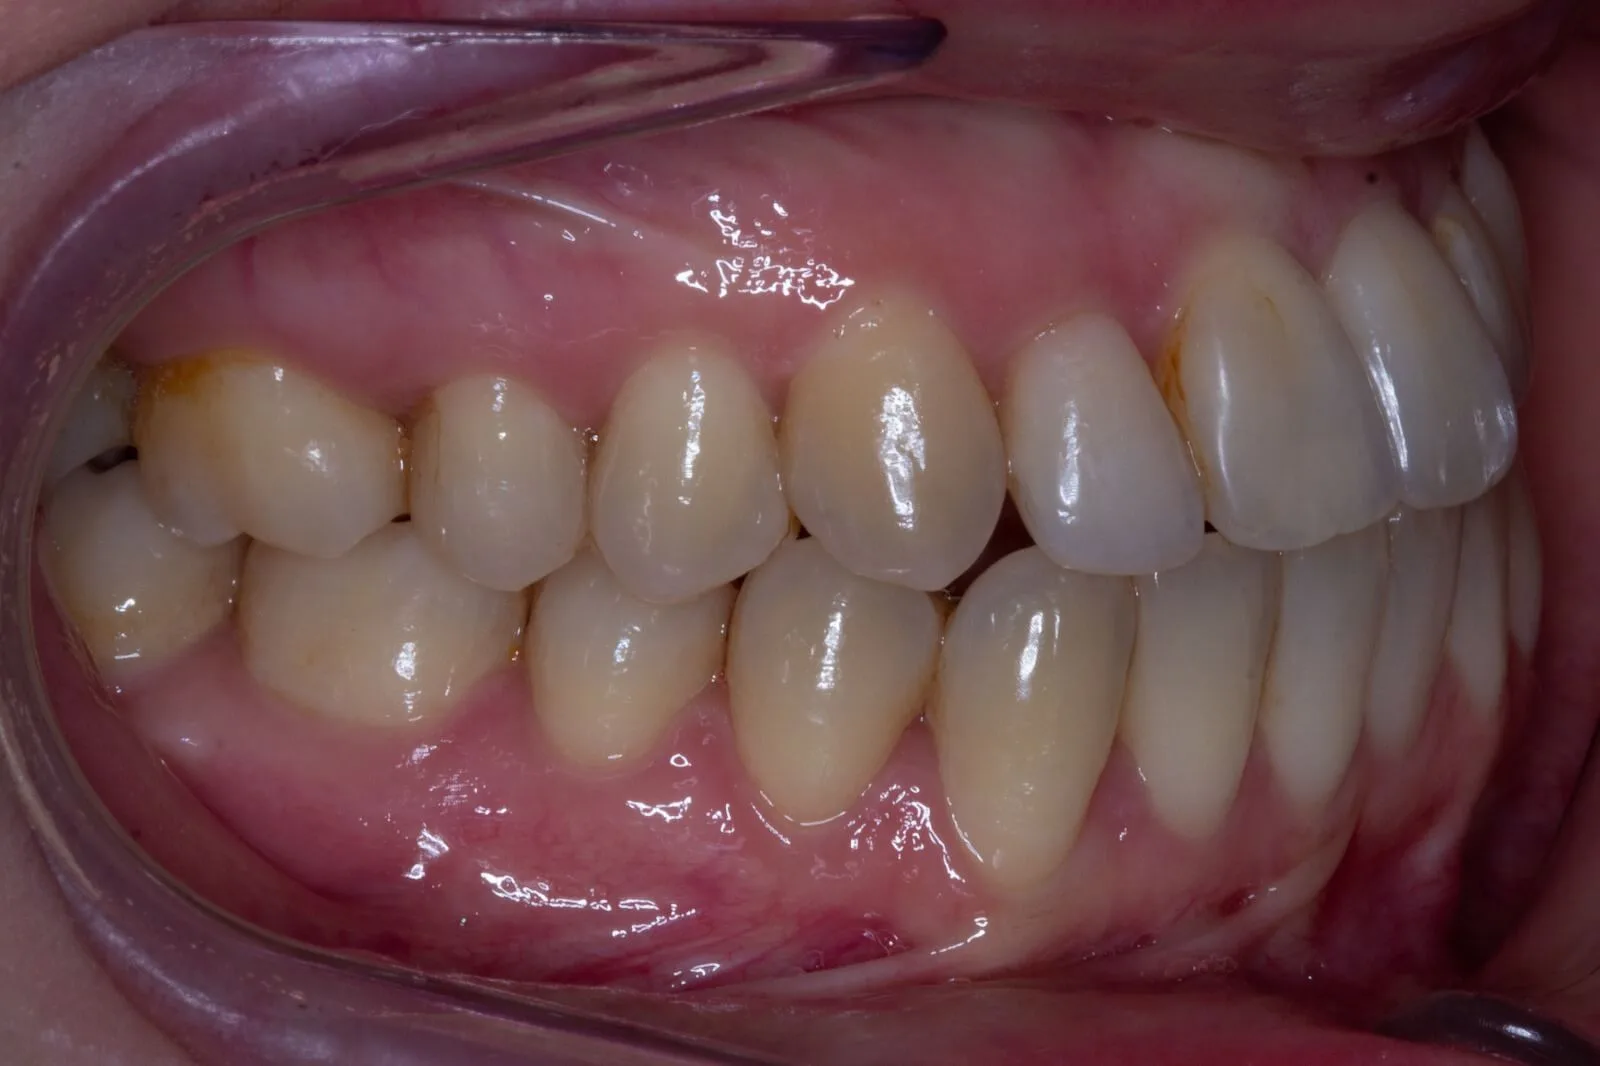
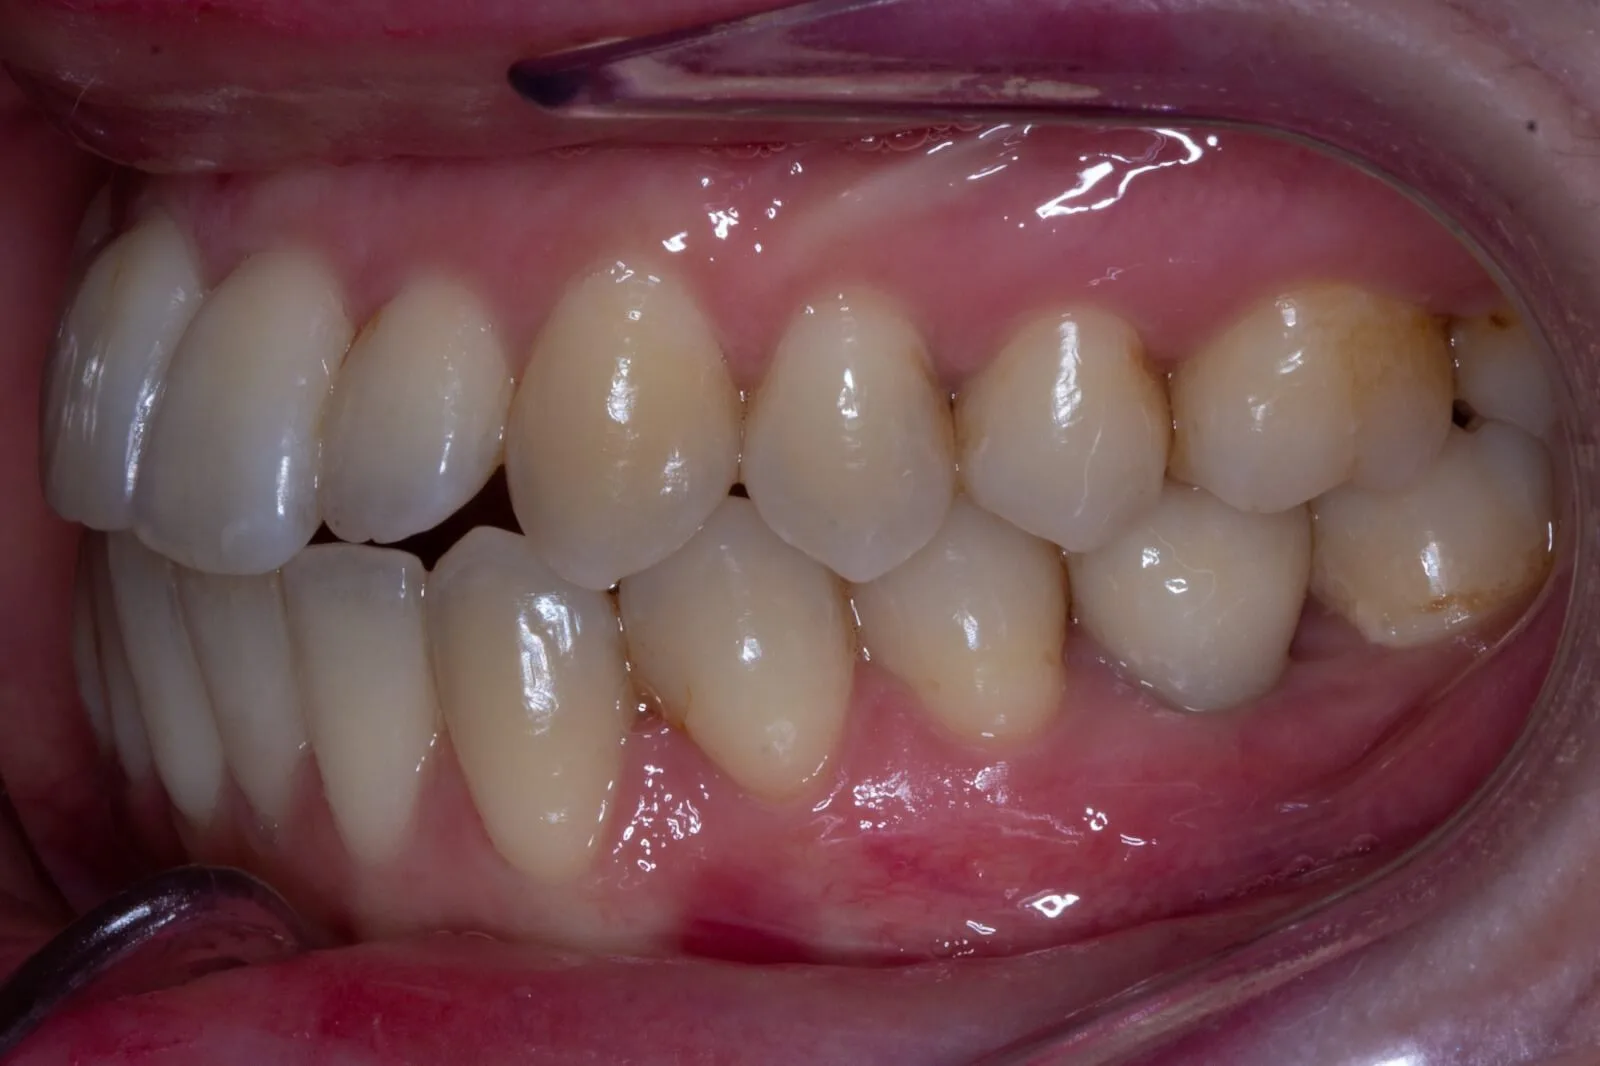
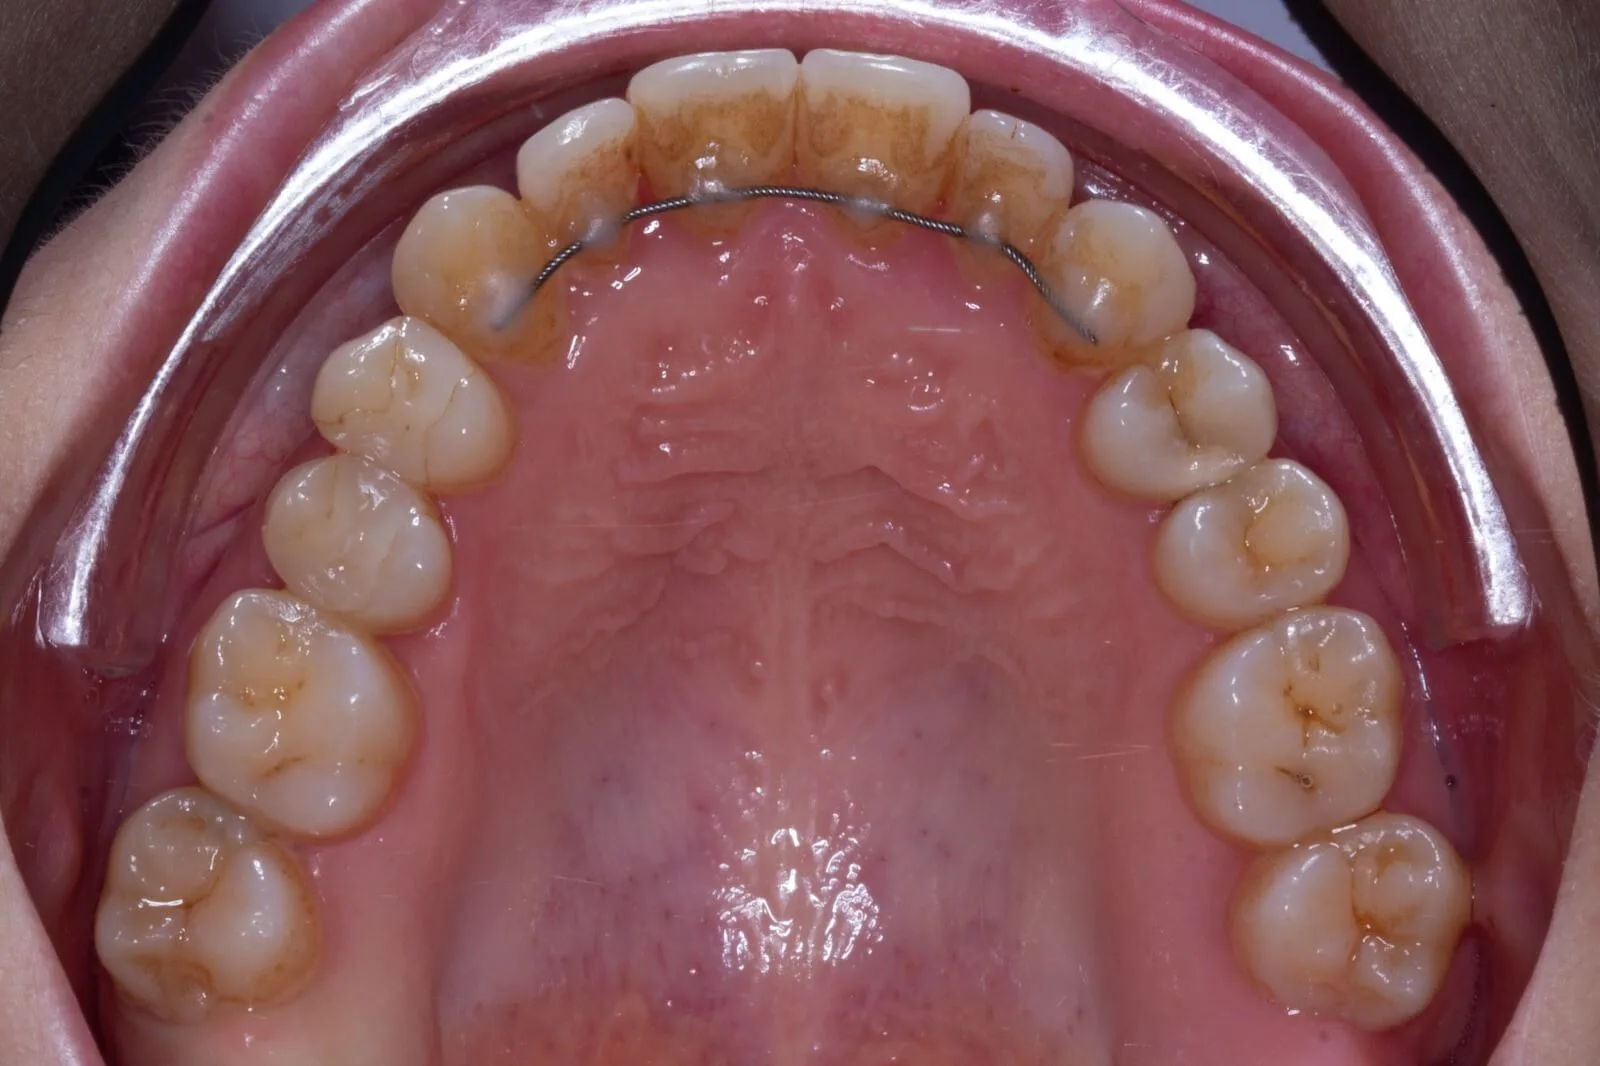
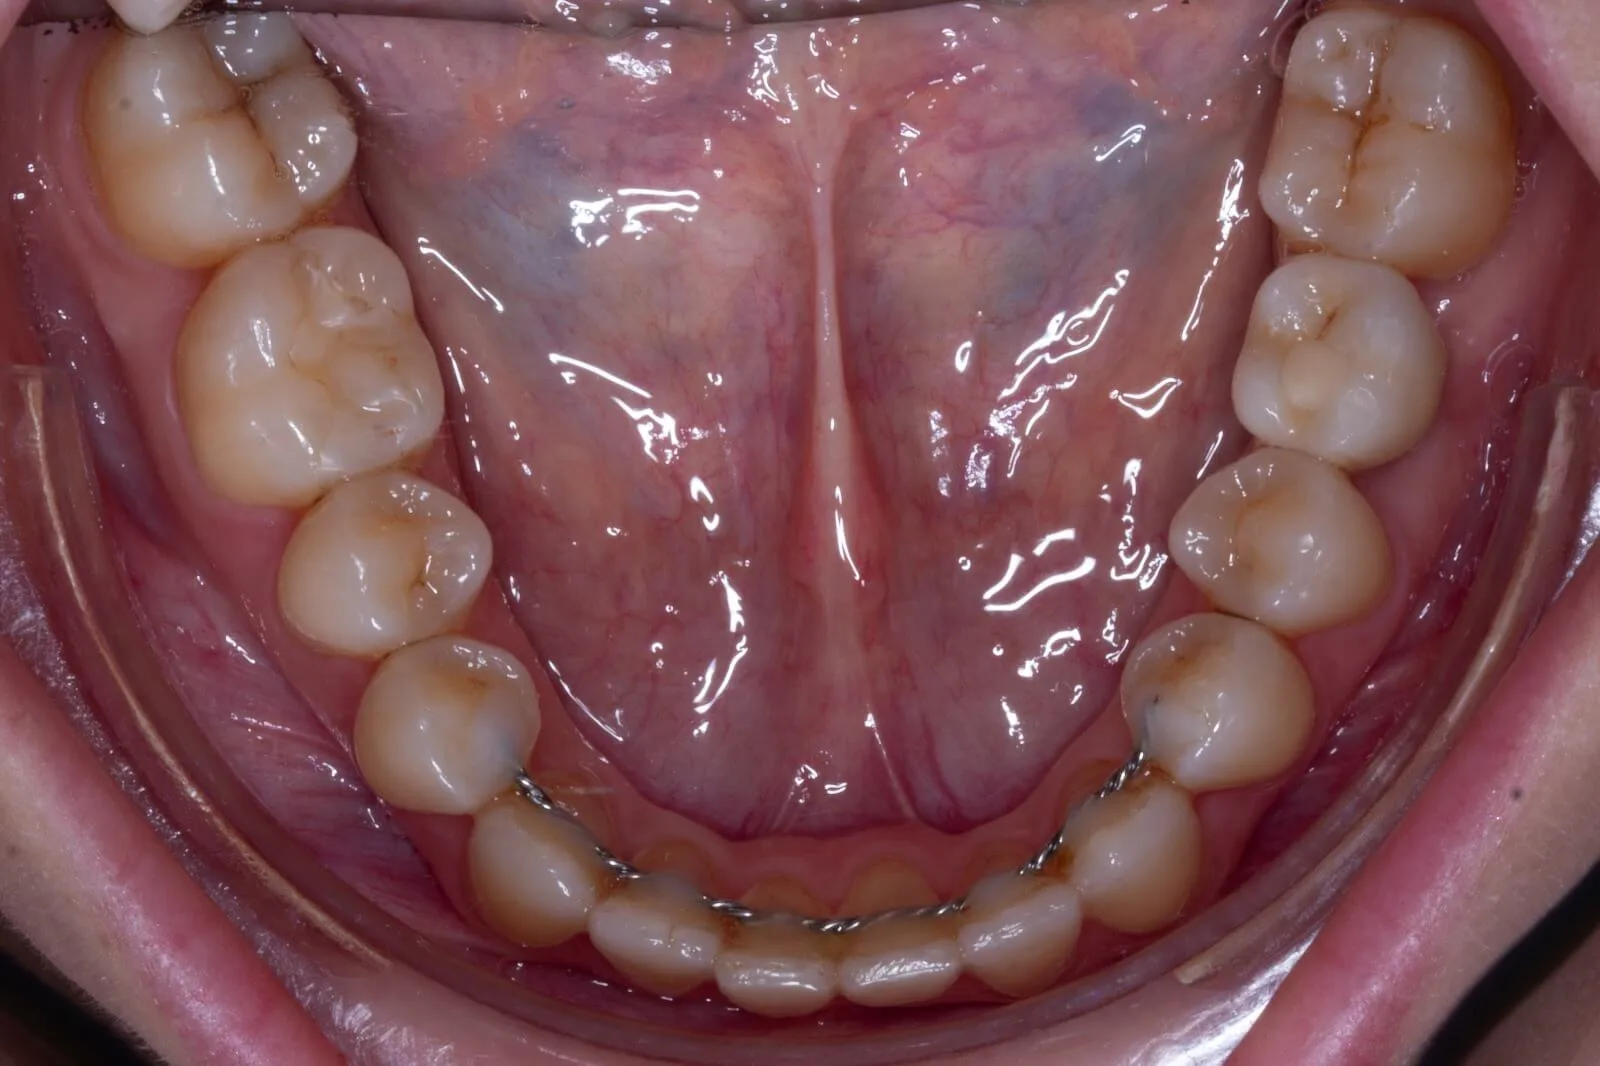
To produce error-free surgical splints the intraoral scan must be precise. Oral hygiene should be good, the surfaces to be scanned should be free of saliva, and elastics should be removed. We do not recommend removing the surgical archwires: removing and re-tying them can disturb their passivity, and any tooth movement after the records are taken will prevent the splints from seating properly. For clear-aligner patients, discuss with the surgeon beforehand how the jaws will be fixed during surgery (brackets, hooked wire, or mini-screws only) and take the final scan accordingly.
The scanner must be calibrated.
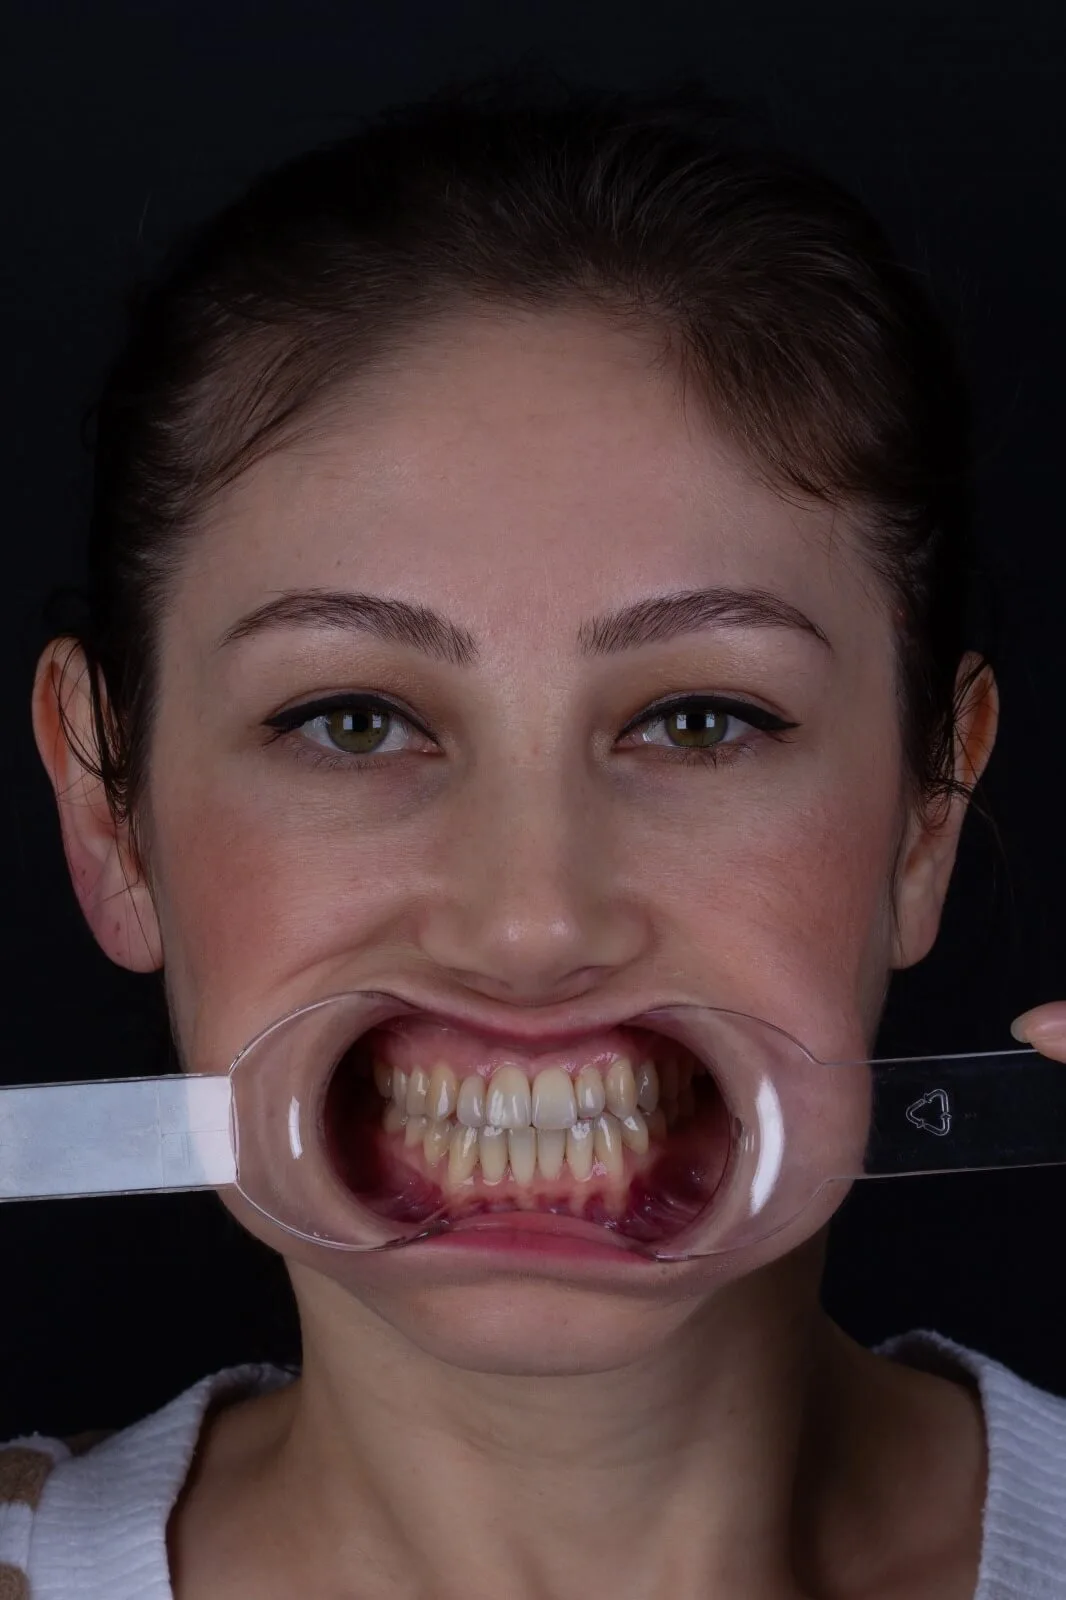
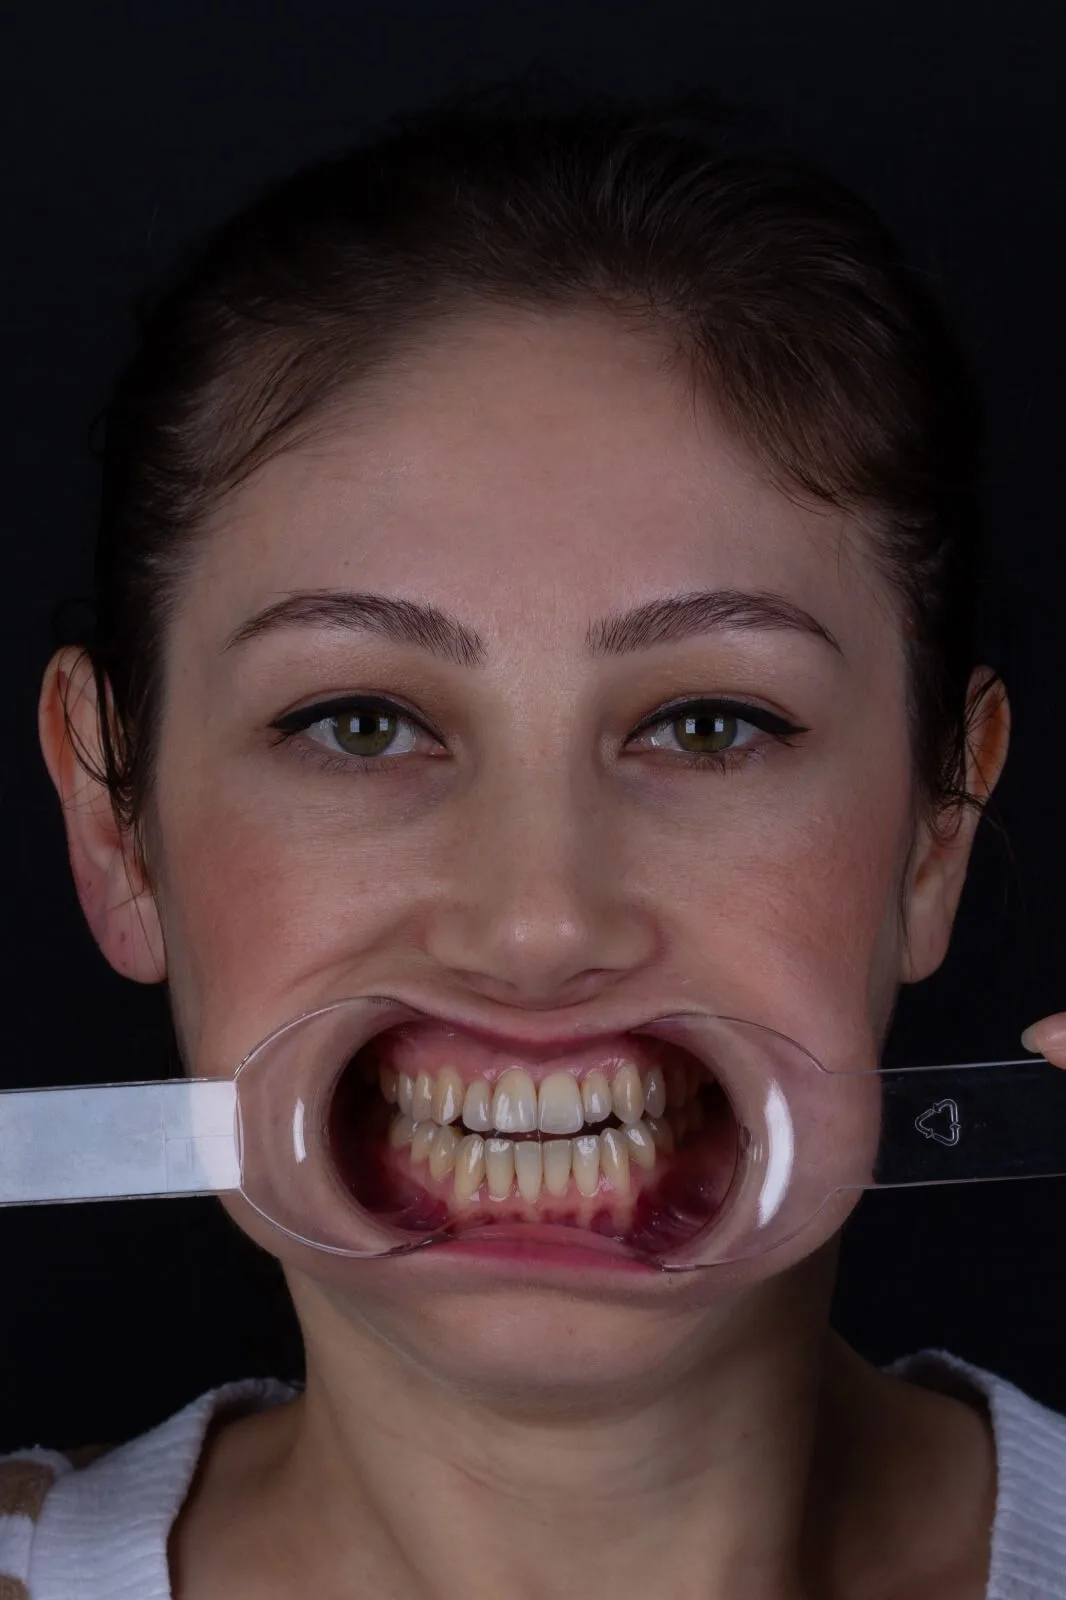
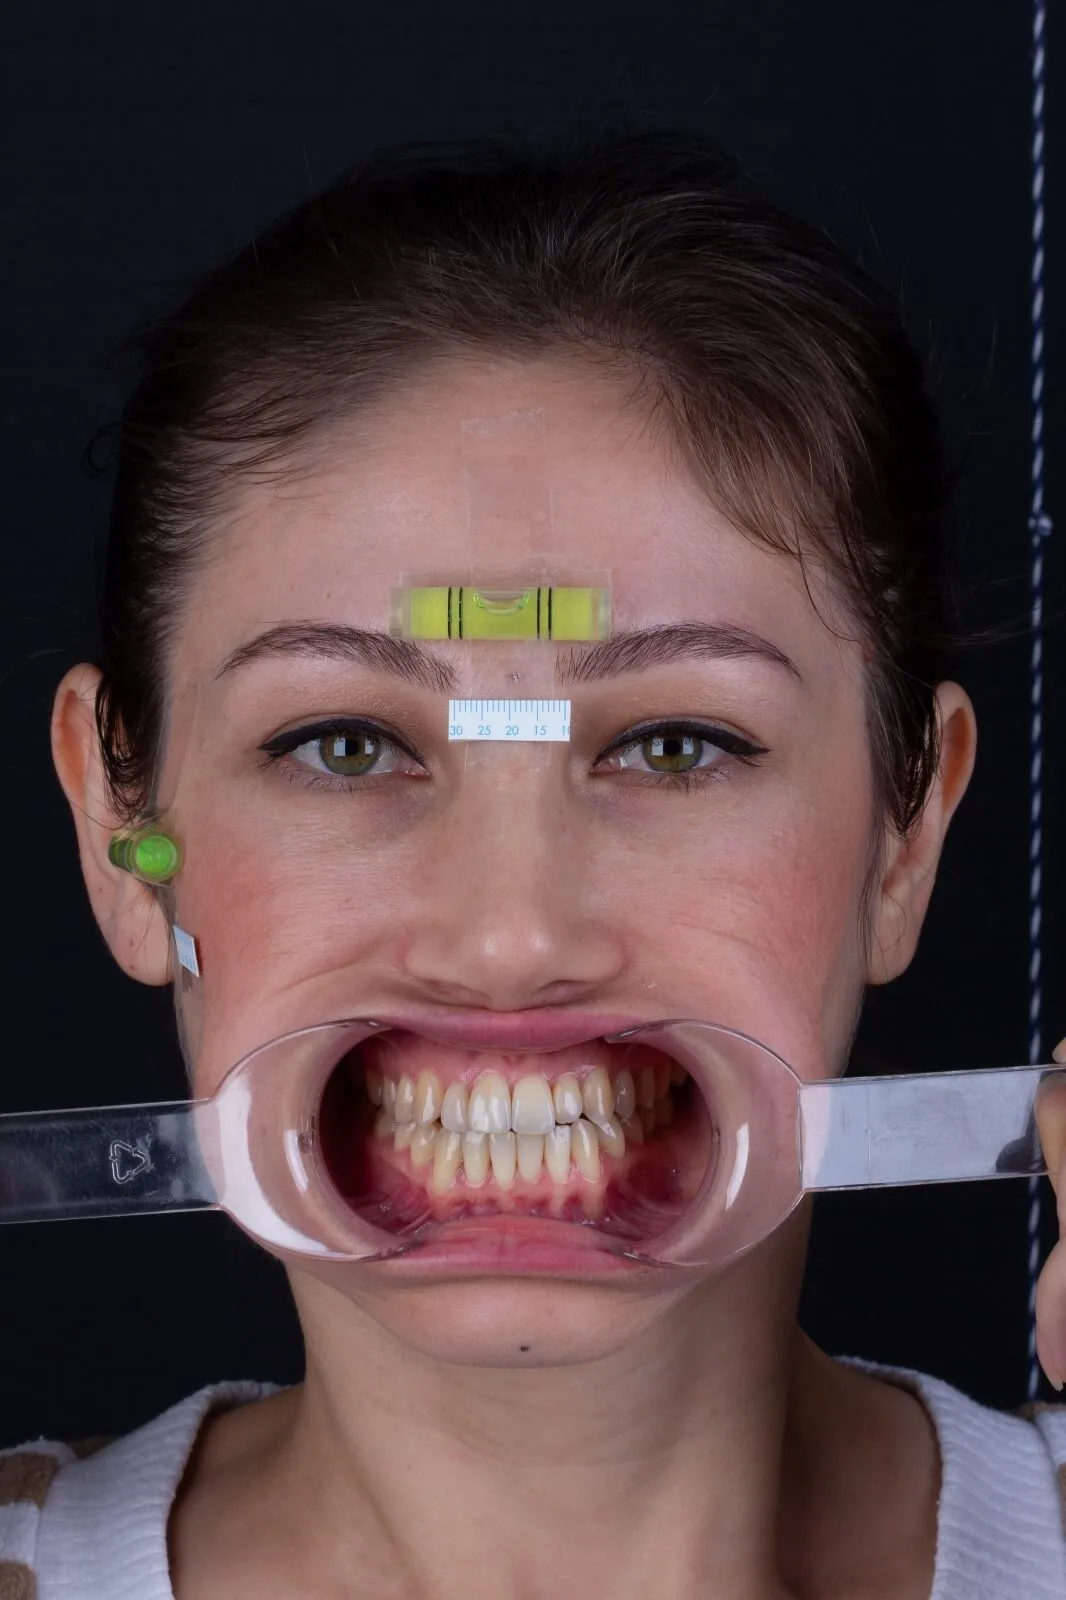
Start the scan with a lip-and-cheek retractor; remove it at the end to scan hard-to-reach areas such as the region between brackets and gingiva in more detail.
04Facial Markings and Measurements
Measurements taken on the face are written into the analysis form, which you can download while following the case submission steps.
The reference points we use for facial measurements:
- Soft-tissue Glabella (Gn’)
- Subnasale (Sn’)
- Soft-tissue Pogonion (Pog’)
Radio-opaque markers are attached to these points so they are visible on the radiograph — a very small drop of flowable composite can be used instead.
05Determining Natural Head Orientation
For orthognathic planning we use the soft-tissue cephalometric analysis (STCA) described by Arnett and colleagues. Instead of intracranial planes, this analysis uses true vertical and horizontal planes established on the patient’s natural head position (NHP), which represents the patient’s real-life appearance and therefore produces realistic orthodontic and surgical outcomes. Since NHP is affected by many factors, the clinician usually needs to re-orient the patient’s head; this re-oriented position is called natural head orientation (NHO).
06Placing the Spirit Levels
Once the NHO is determined, two small spirit levels are attached with double-sided tape — one to the forehead, one to the temporal region — parallel to the floor while the patient holds the NHO. The patient then walks around; the head is re-oriented and the levels are checked again. If there is any doubt, the levels are removed and the process is repeated.
Making the NHO reproducible with spirit levels allows all records to be taken safely in the same orientation, which greatly reduces errors when transferring the clinical NHO to the virtual environment.
(We can ship spirit levels to your address if you wish.)
07Determining the Midline
Dental floss can be used to mark the midline in the clinic. Stand directly in front of the patient; with the forehead spirit level parallel to the floor, hold the floss vertically over the marked G’ point and observe where it crosses the upper incisors. Mark that point and repeat the process to verify it. We recommend doing this more than once — and having a colleague check it if one is available.
08Determining the Cant
Stand directly in front of the patient; with the forehead spirit level parallel to the floor, use a ruler with a spirit level attached (or a stepped cant gauge) to measure the vertical distance between the upper canines.
(We can e-mail you the stepped cant gauge as an STL file if you wish.)
09Taking the Bite Record
The bite record is used while taking the photographs and the radiograph, so that the jaw relationship in both records matches the one determined in the clinic. The bite wax must not deform easily; we prefer hard blue wax similar to Kerr material, or pink wax hardened in iced water.
The wax must not touch the lips or the soft tissues.
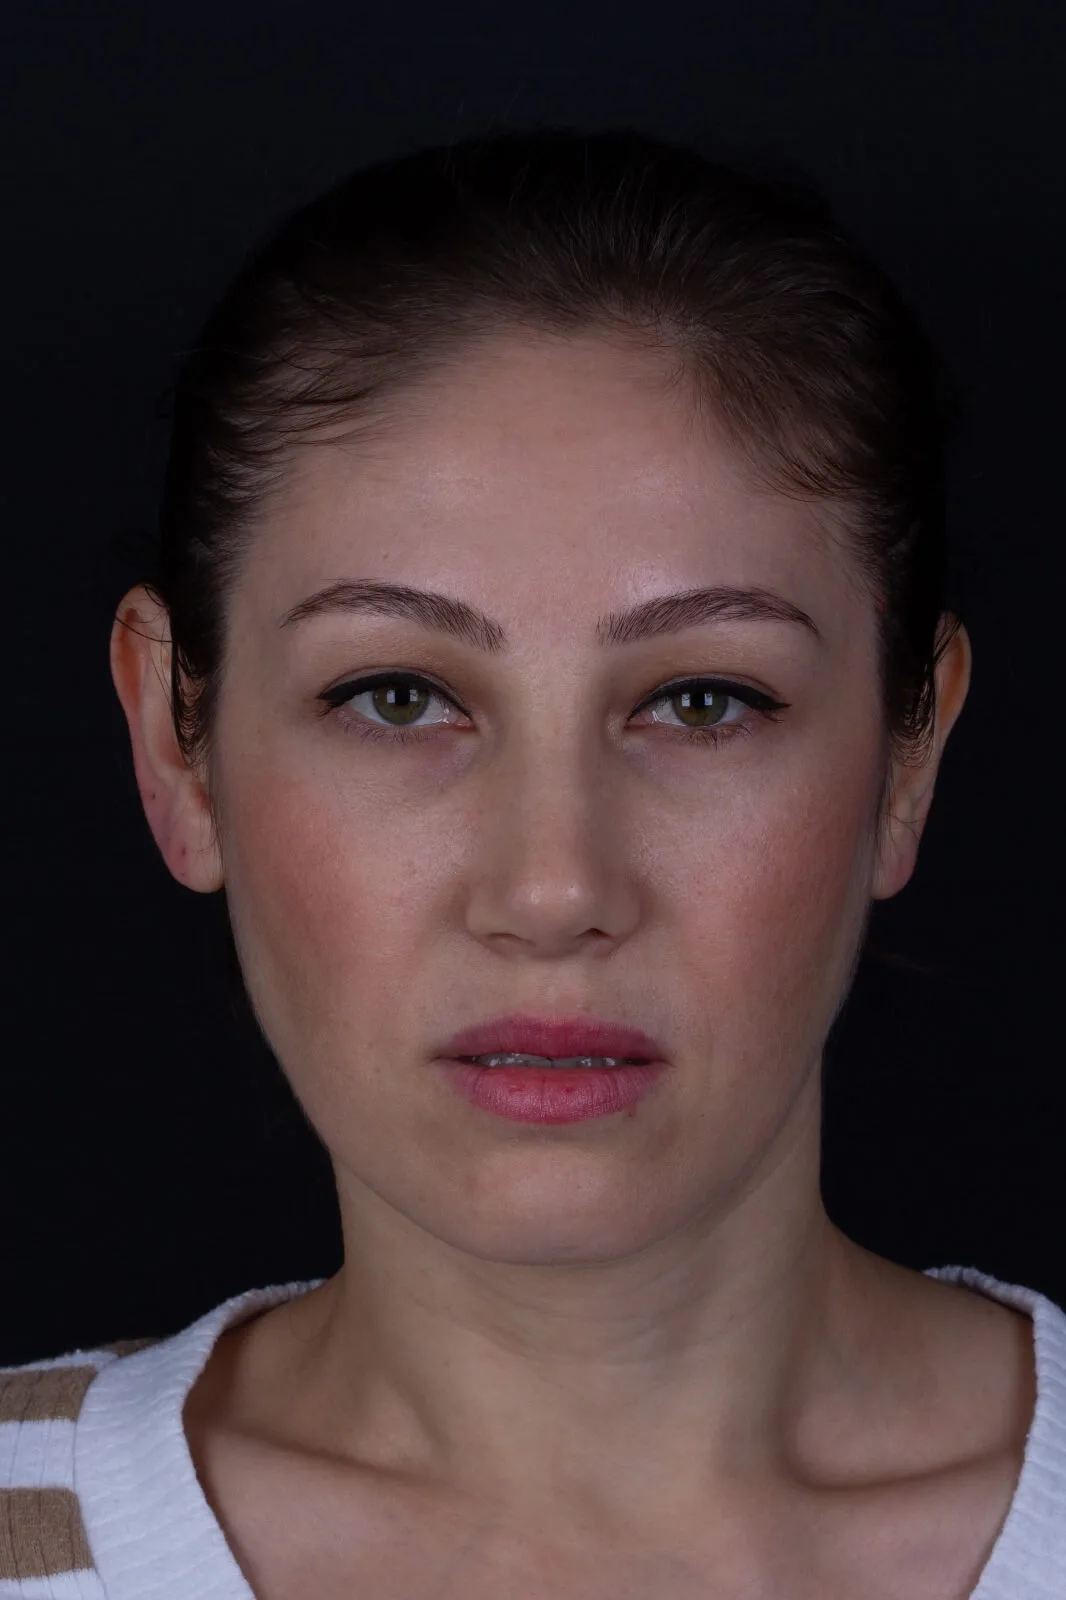
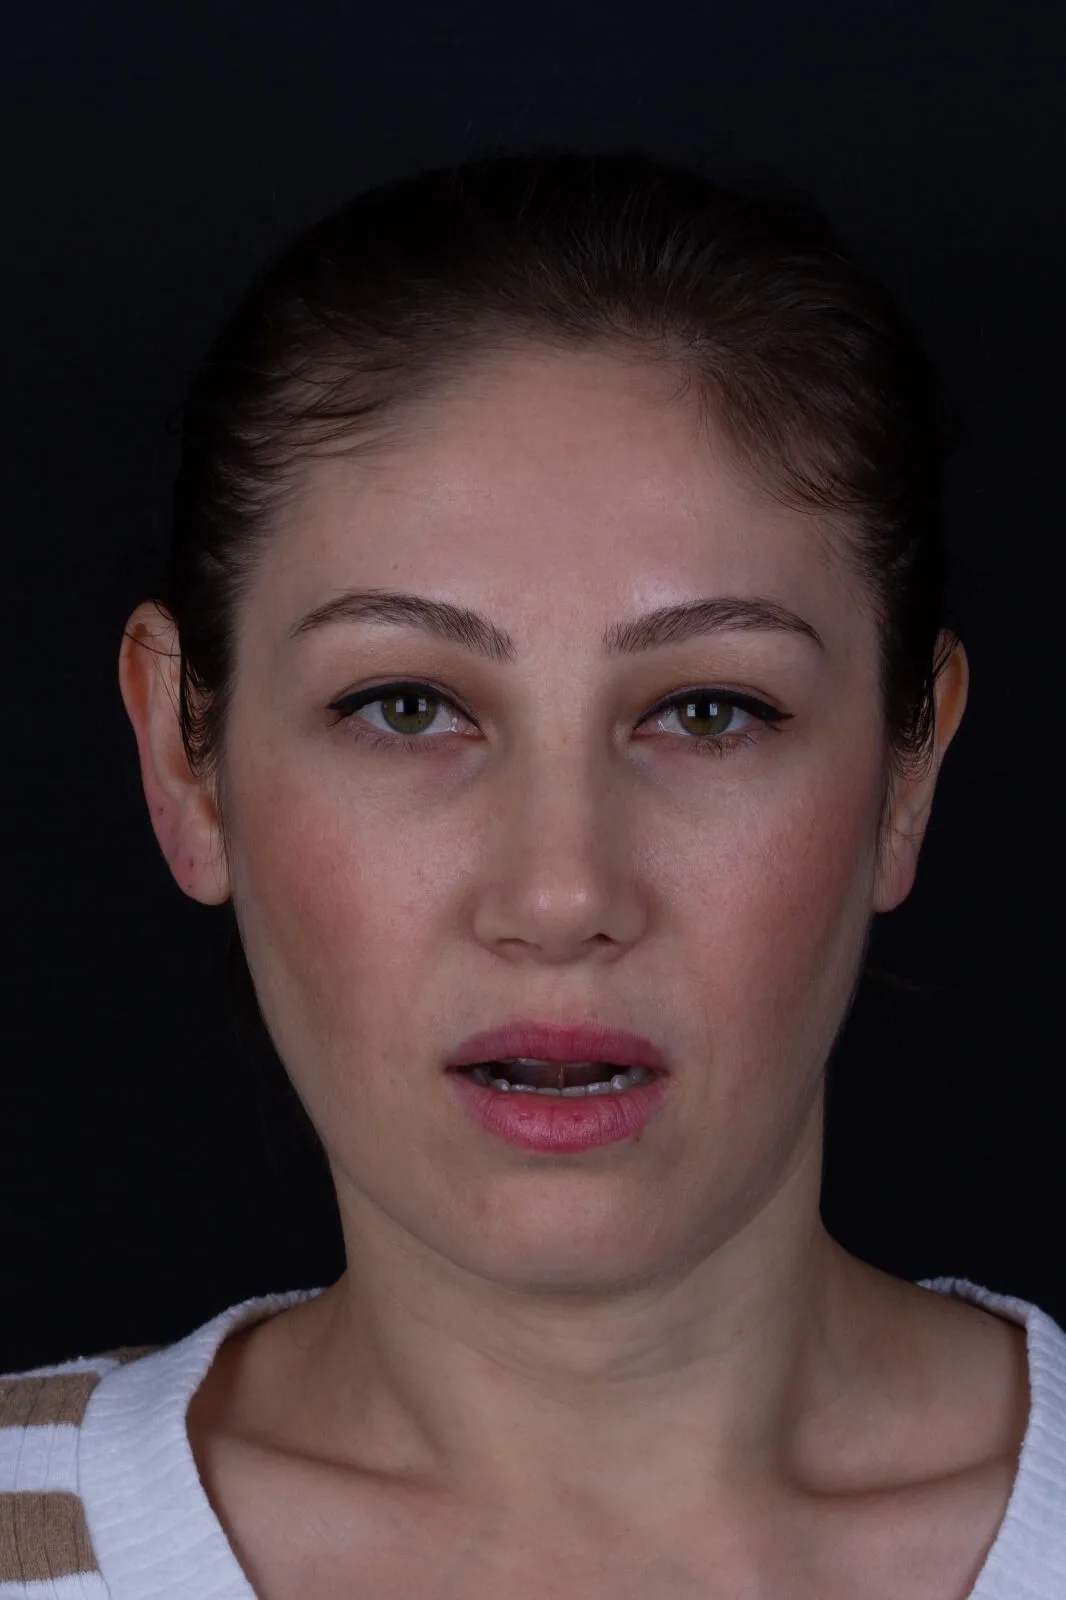
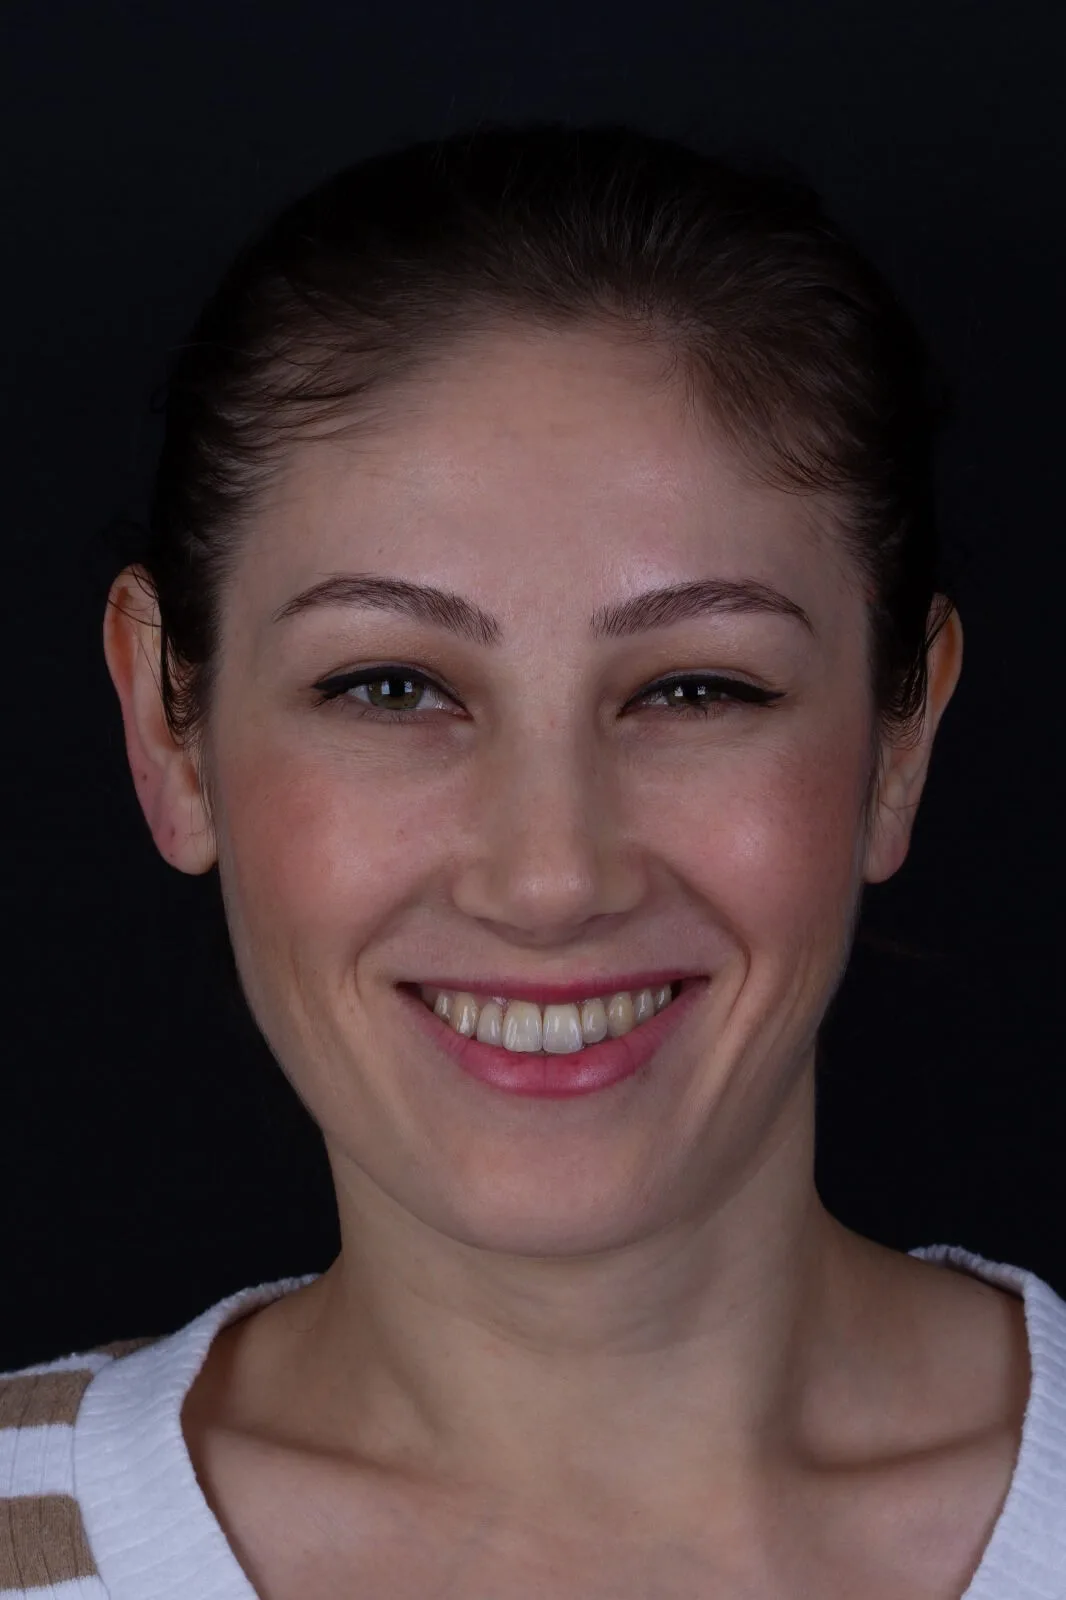
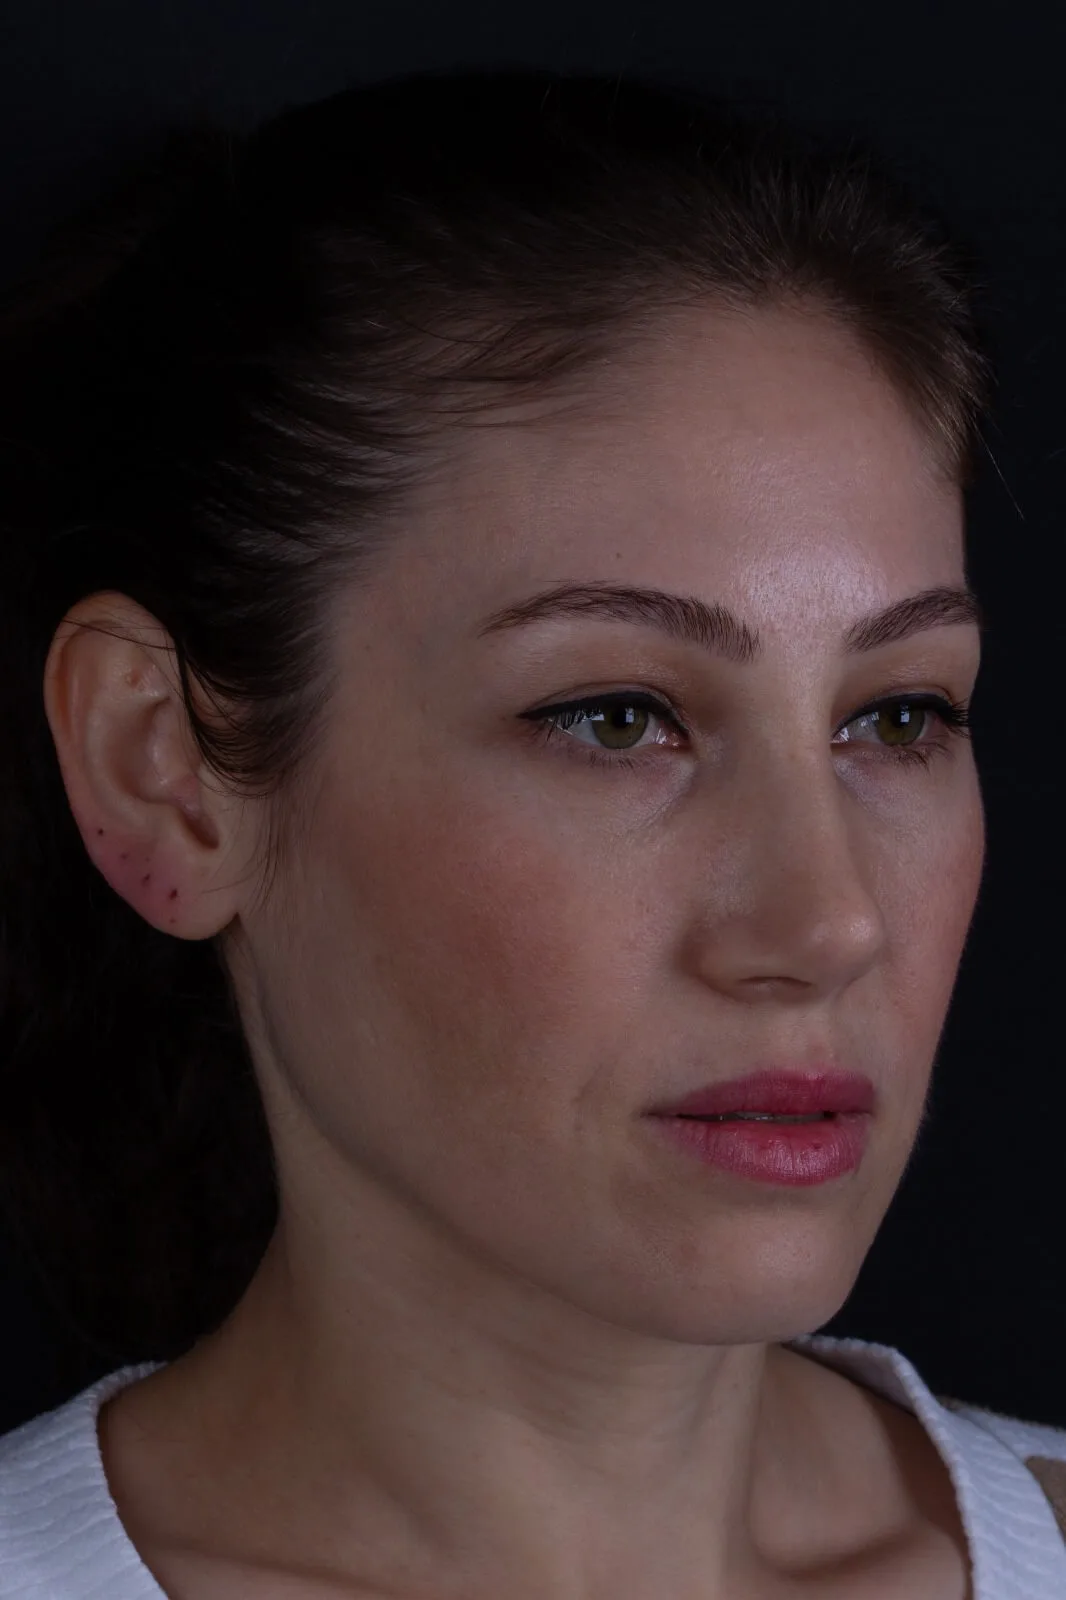
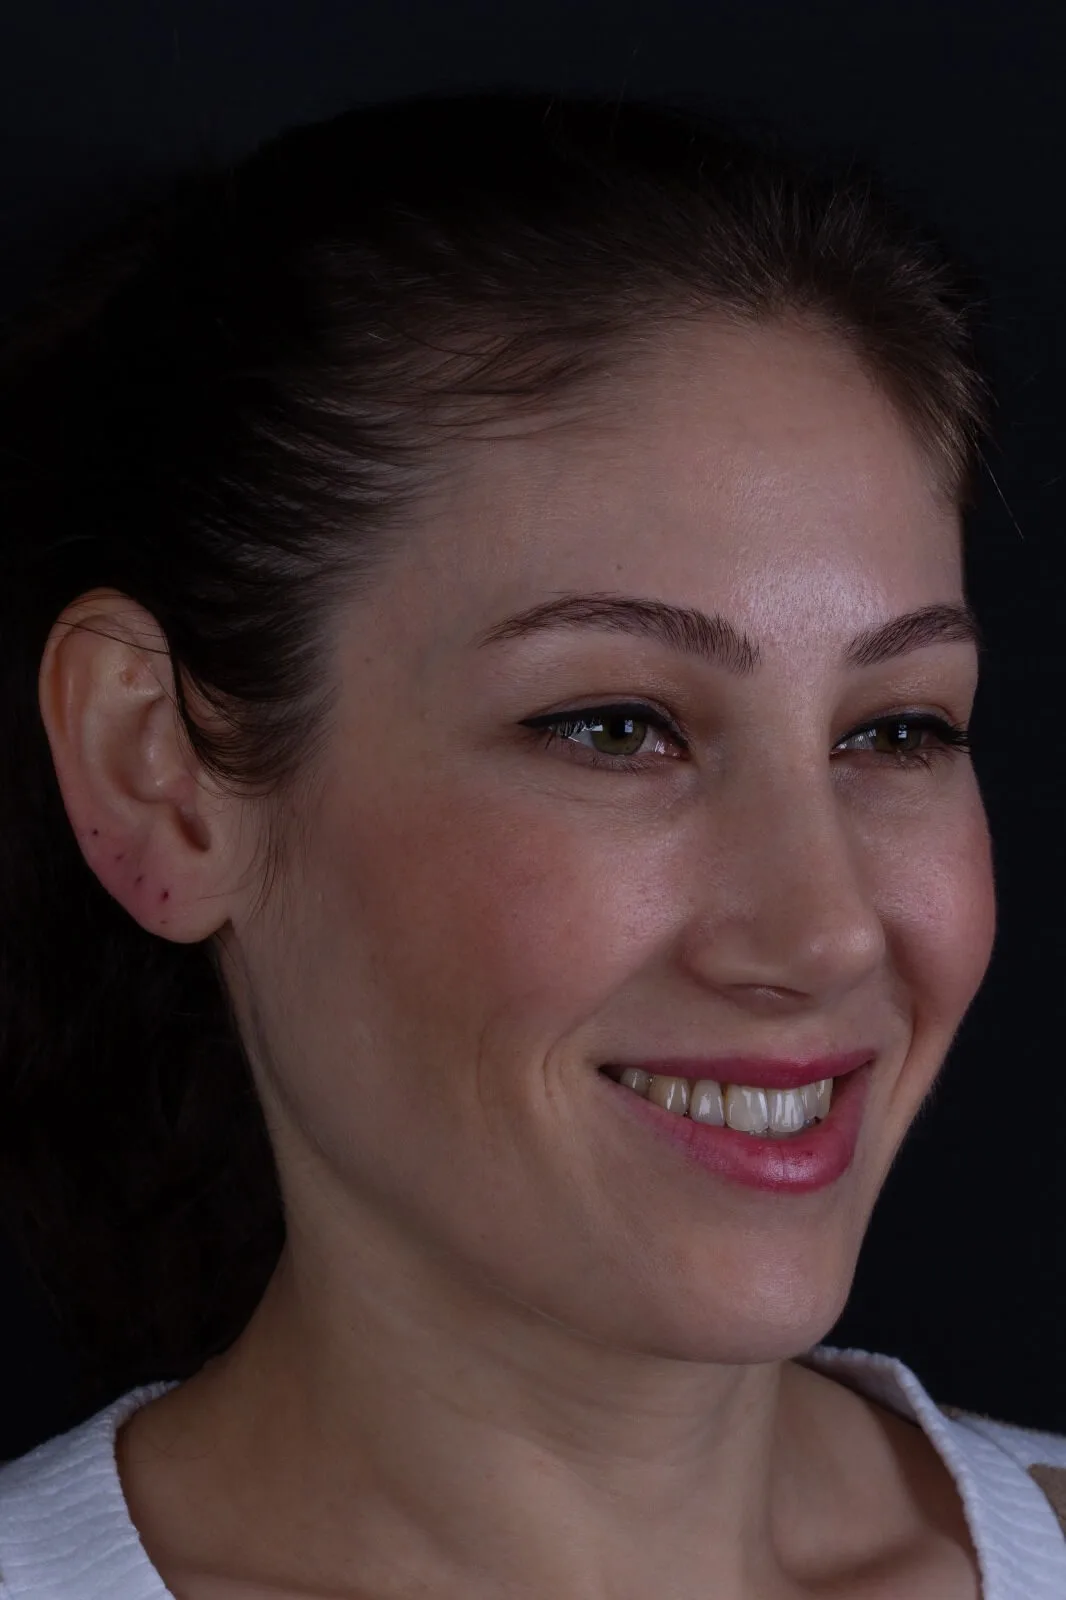
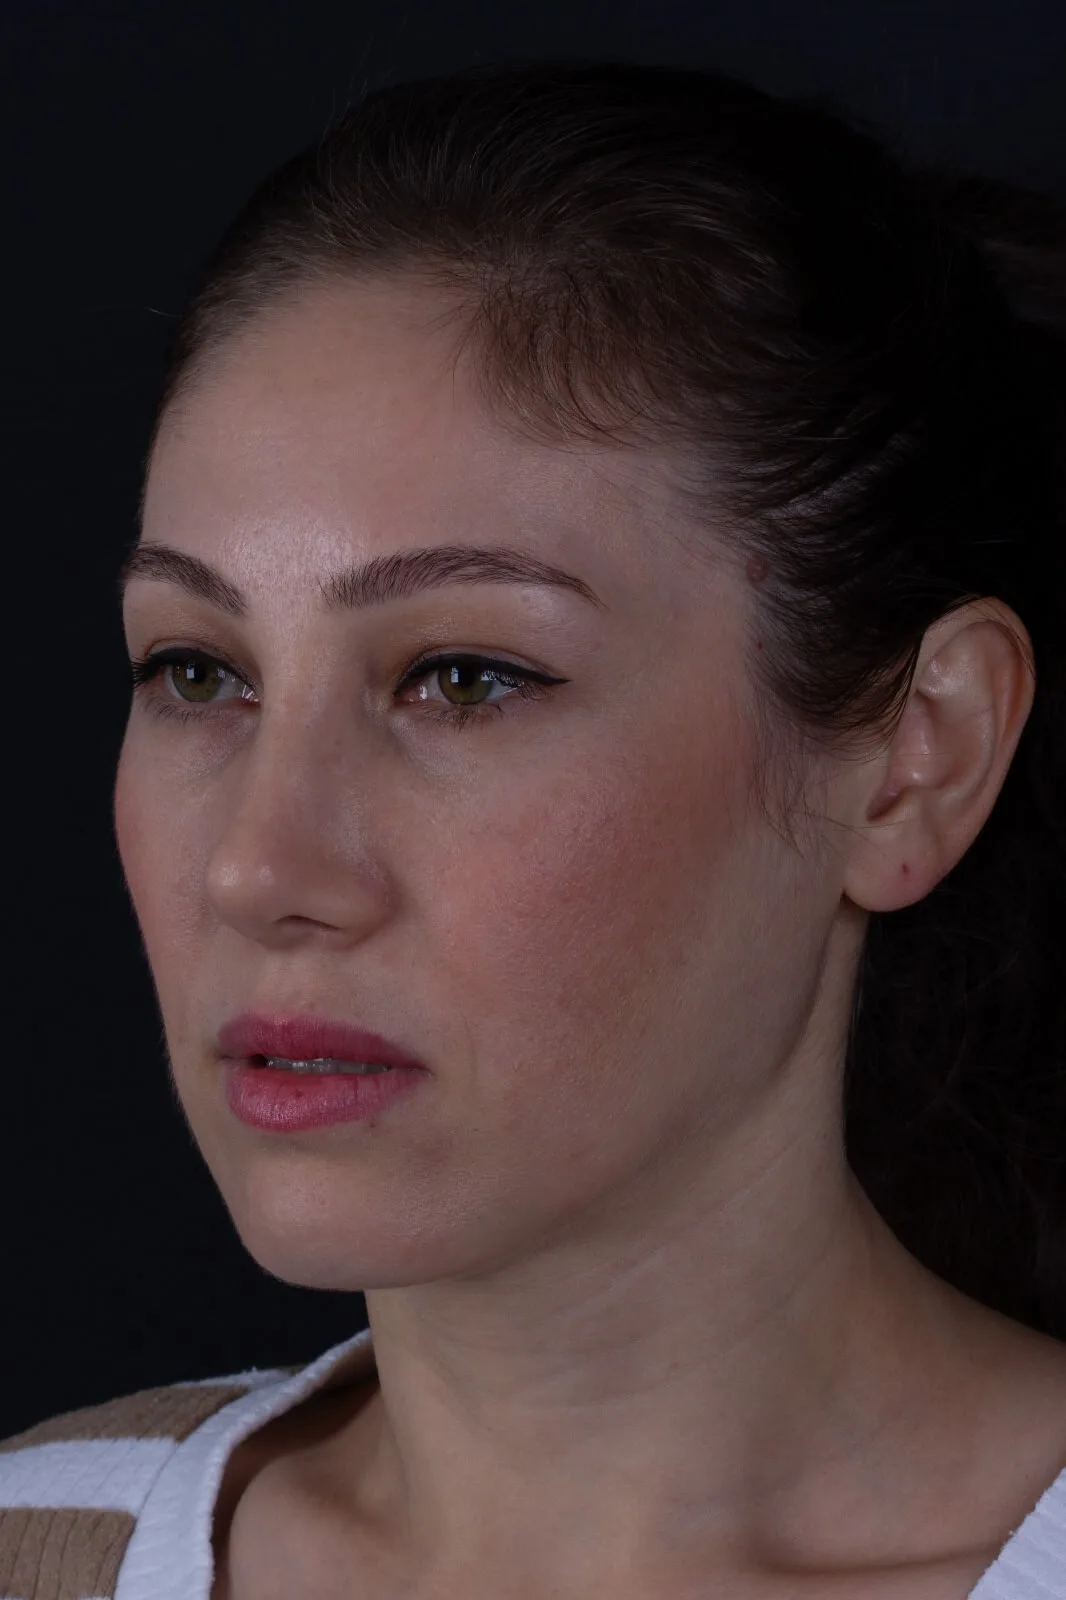
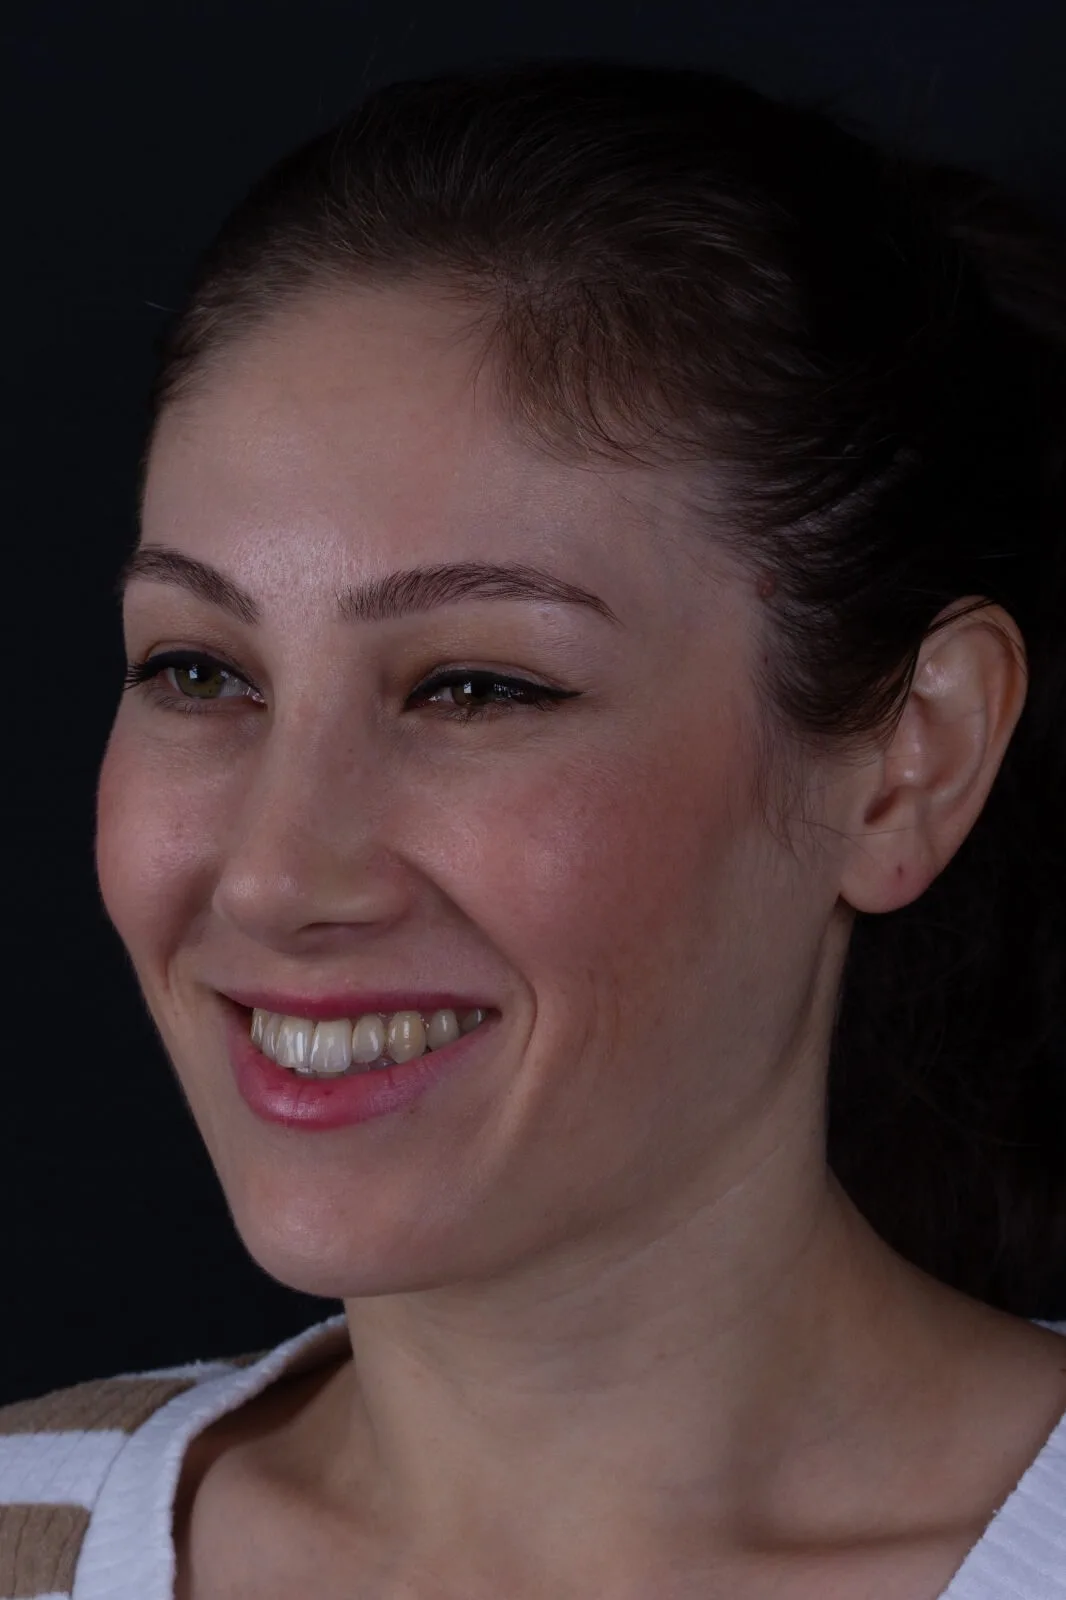
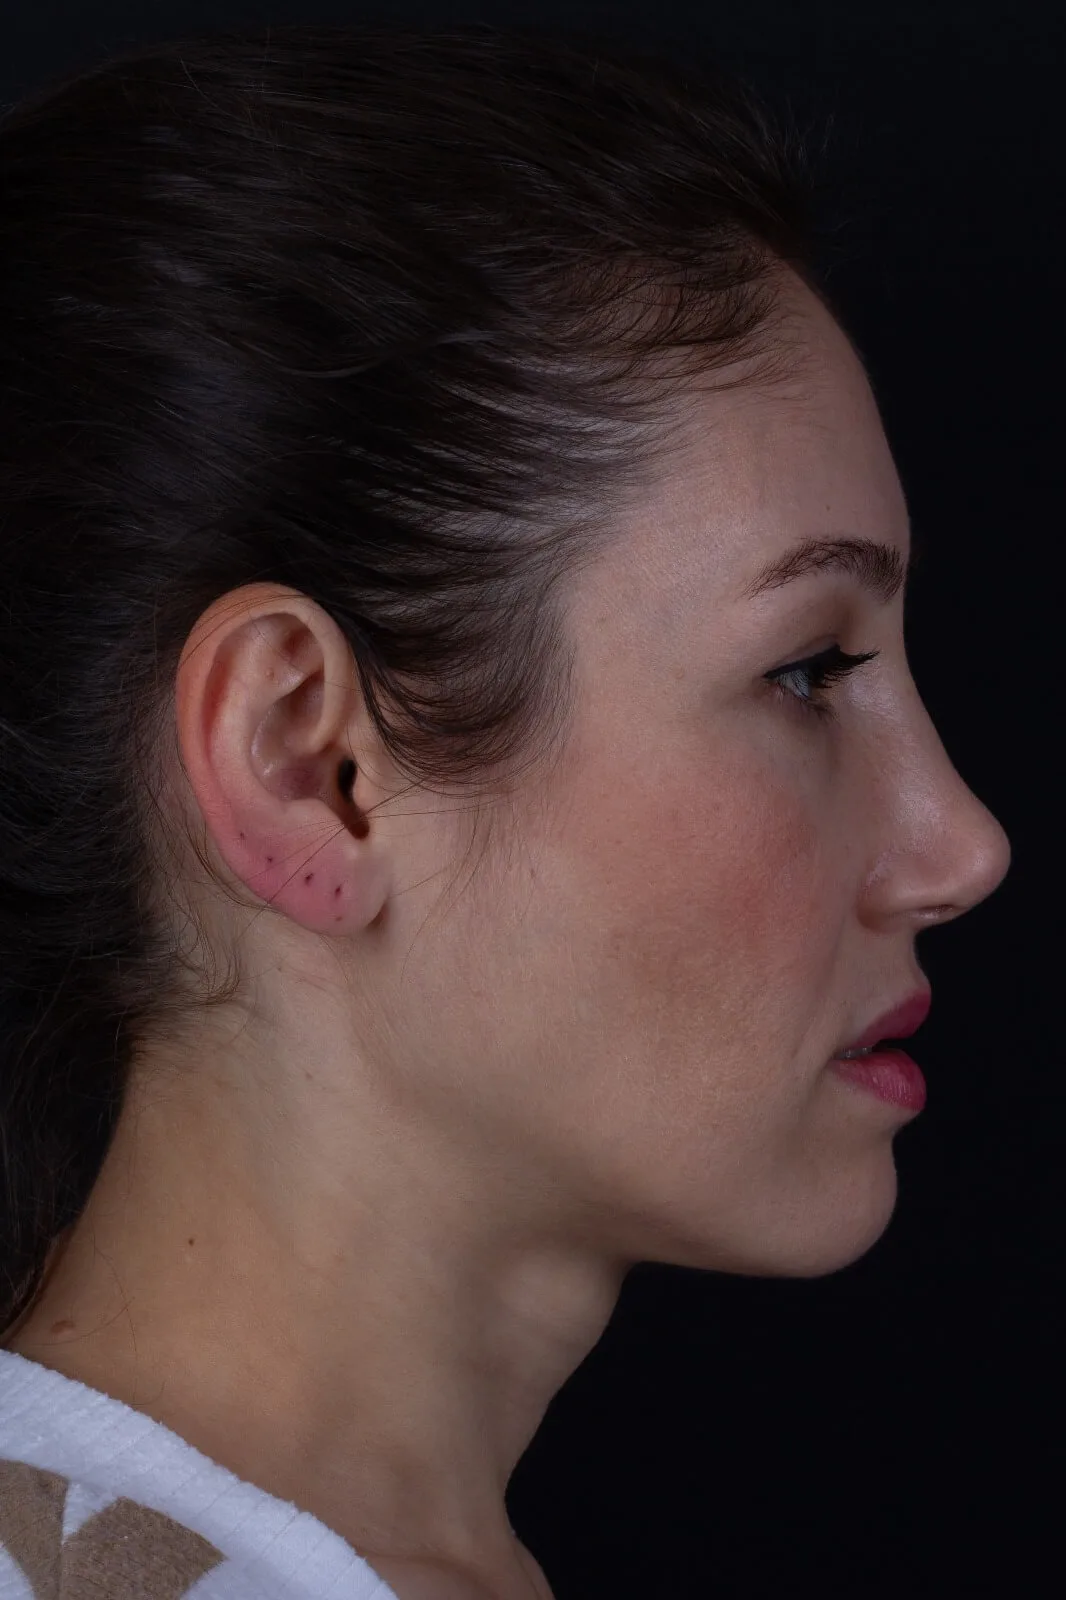
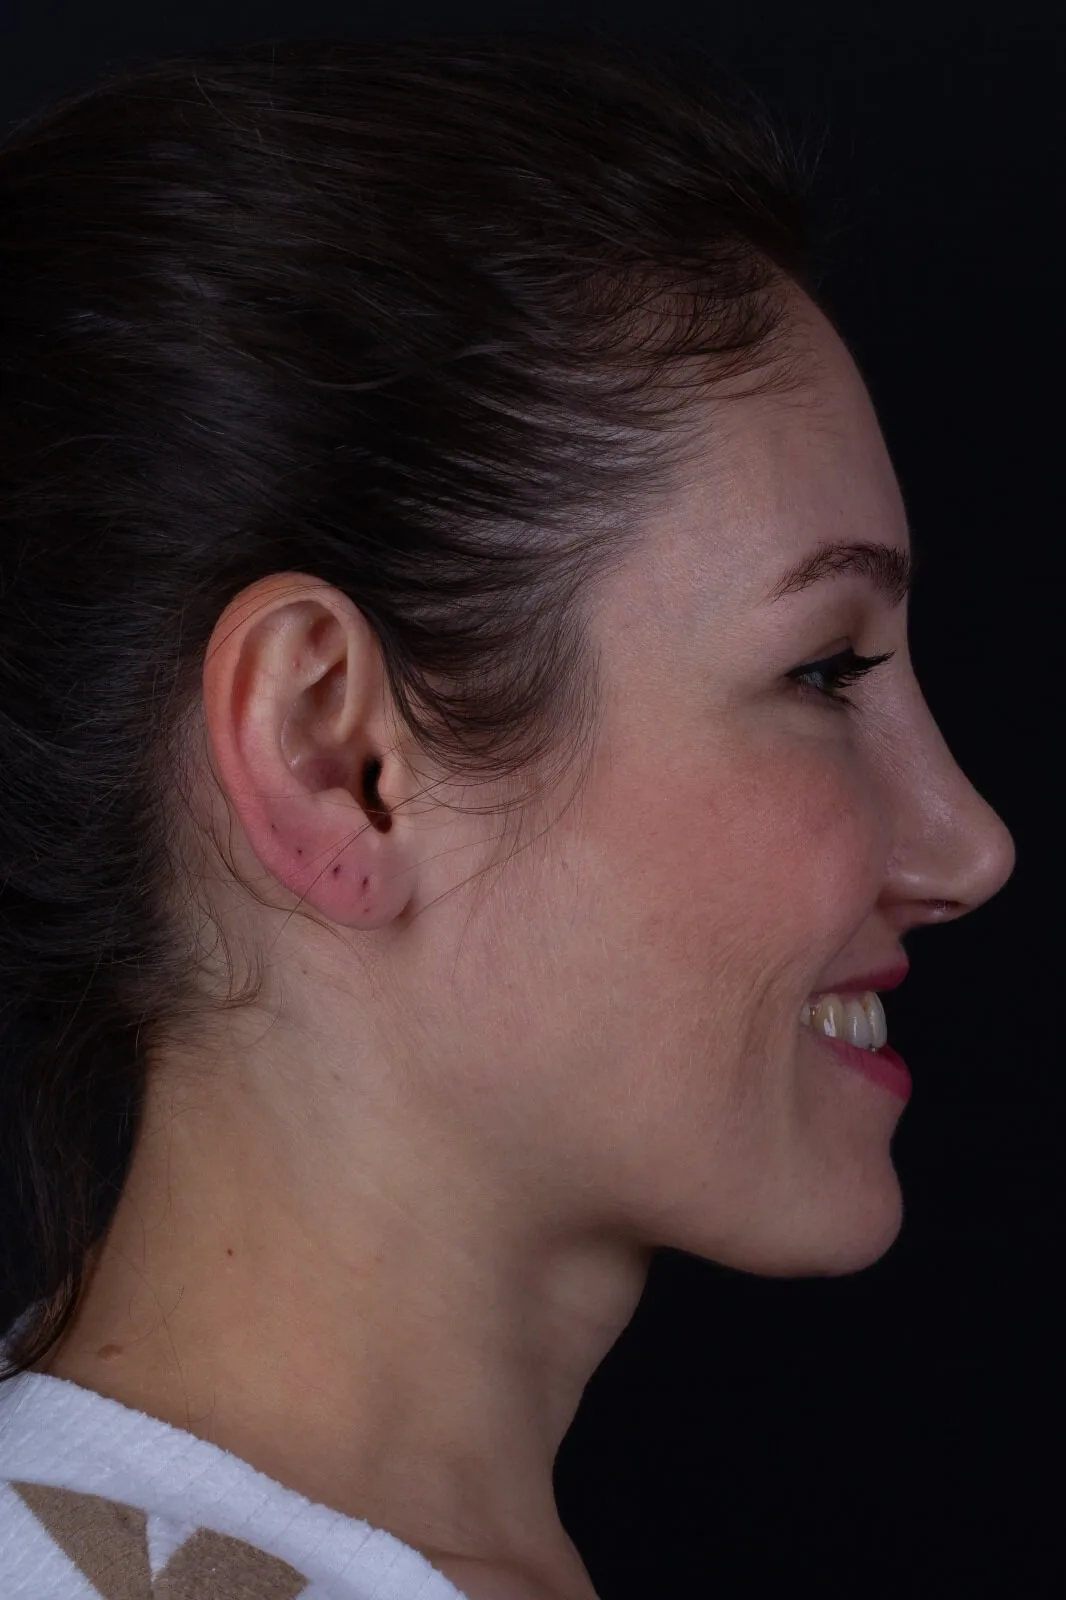
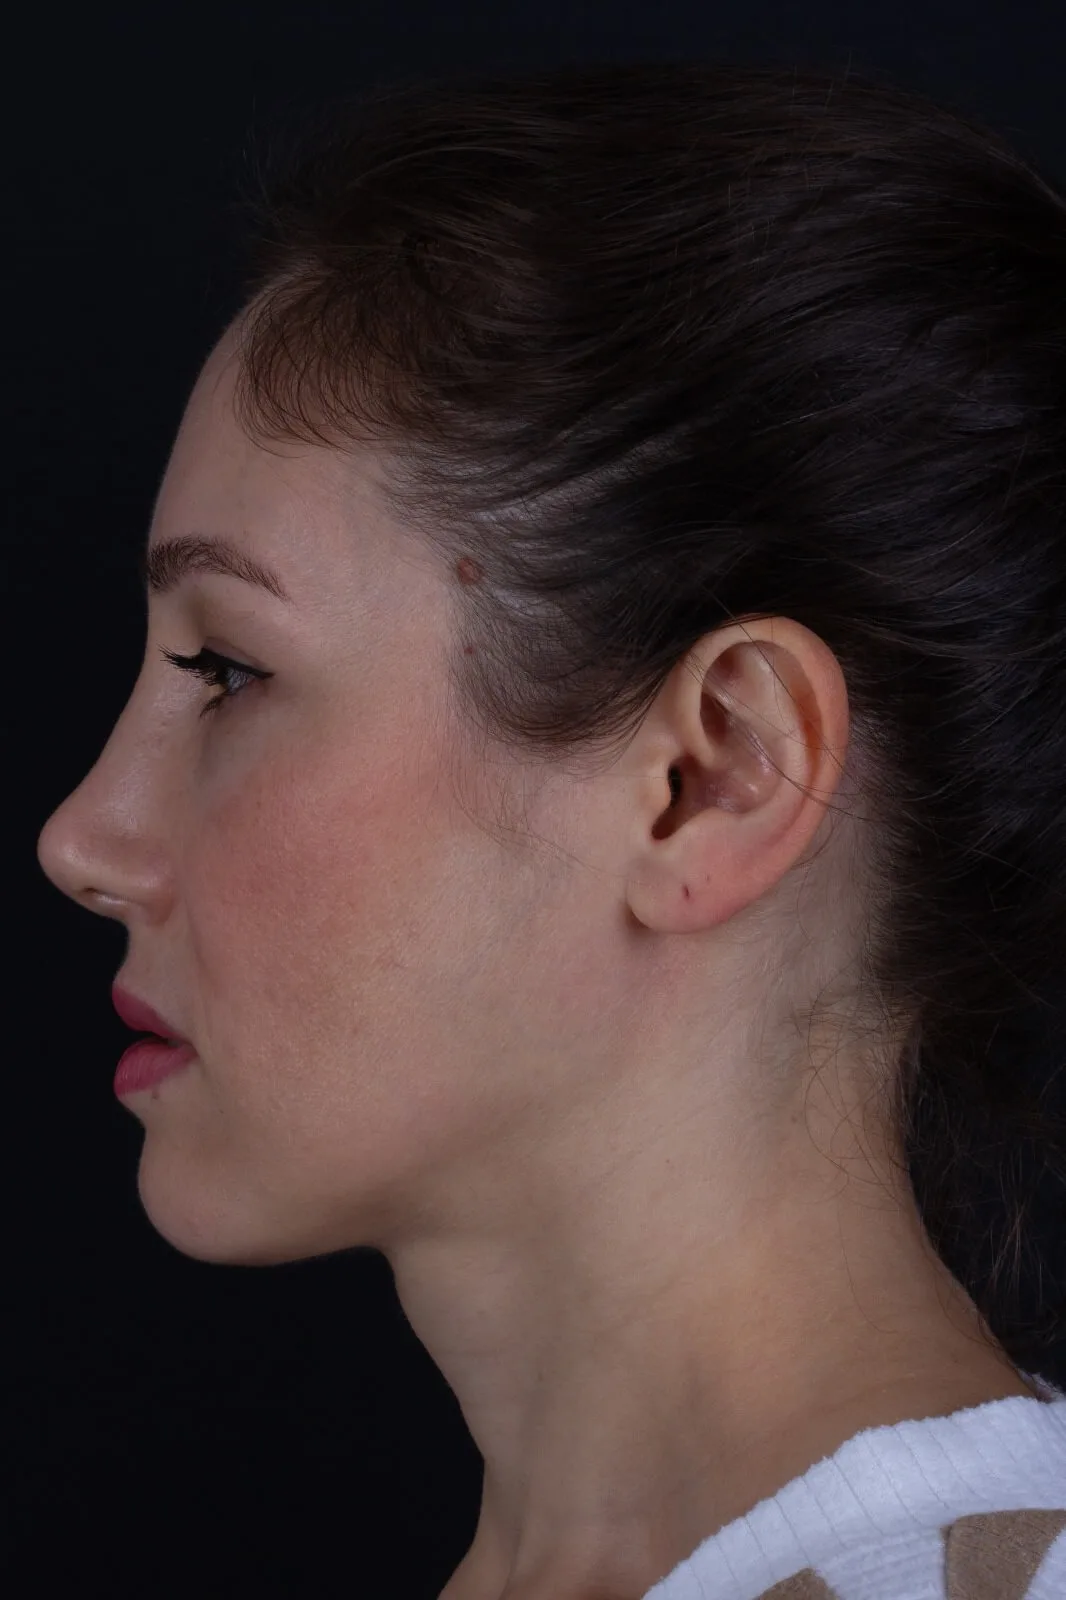
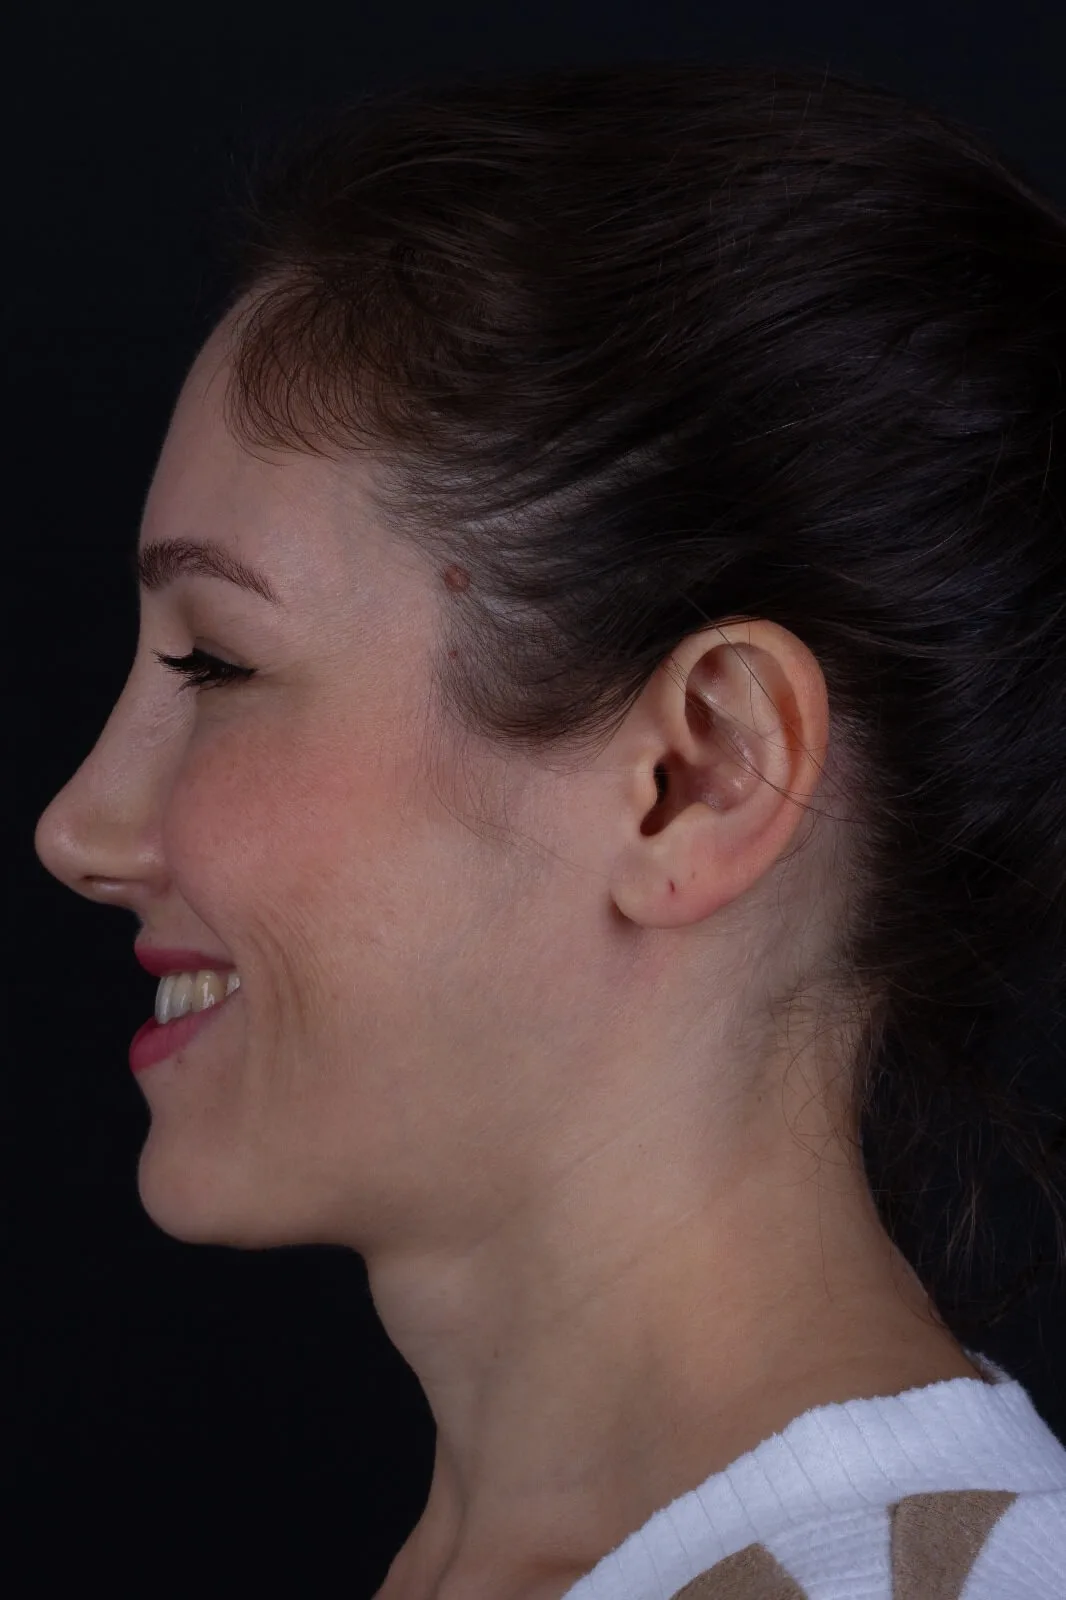
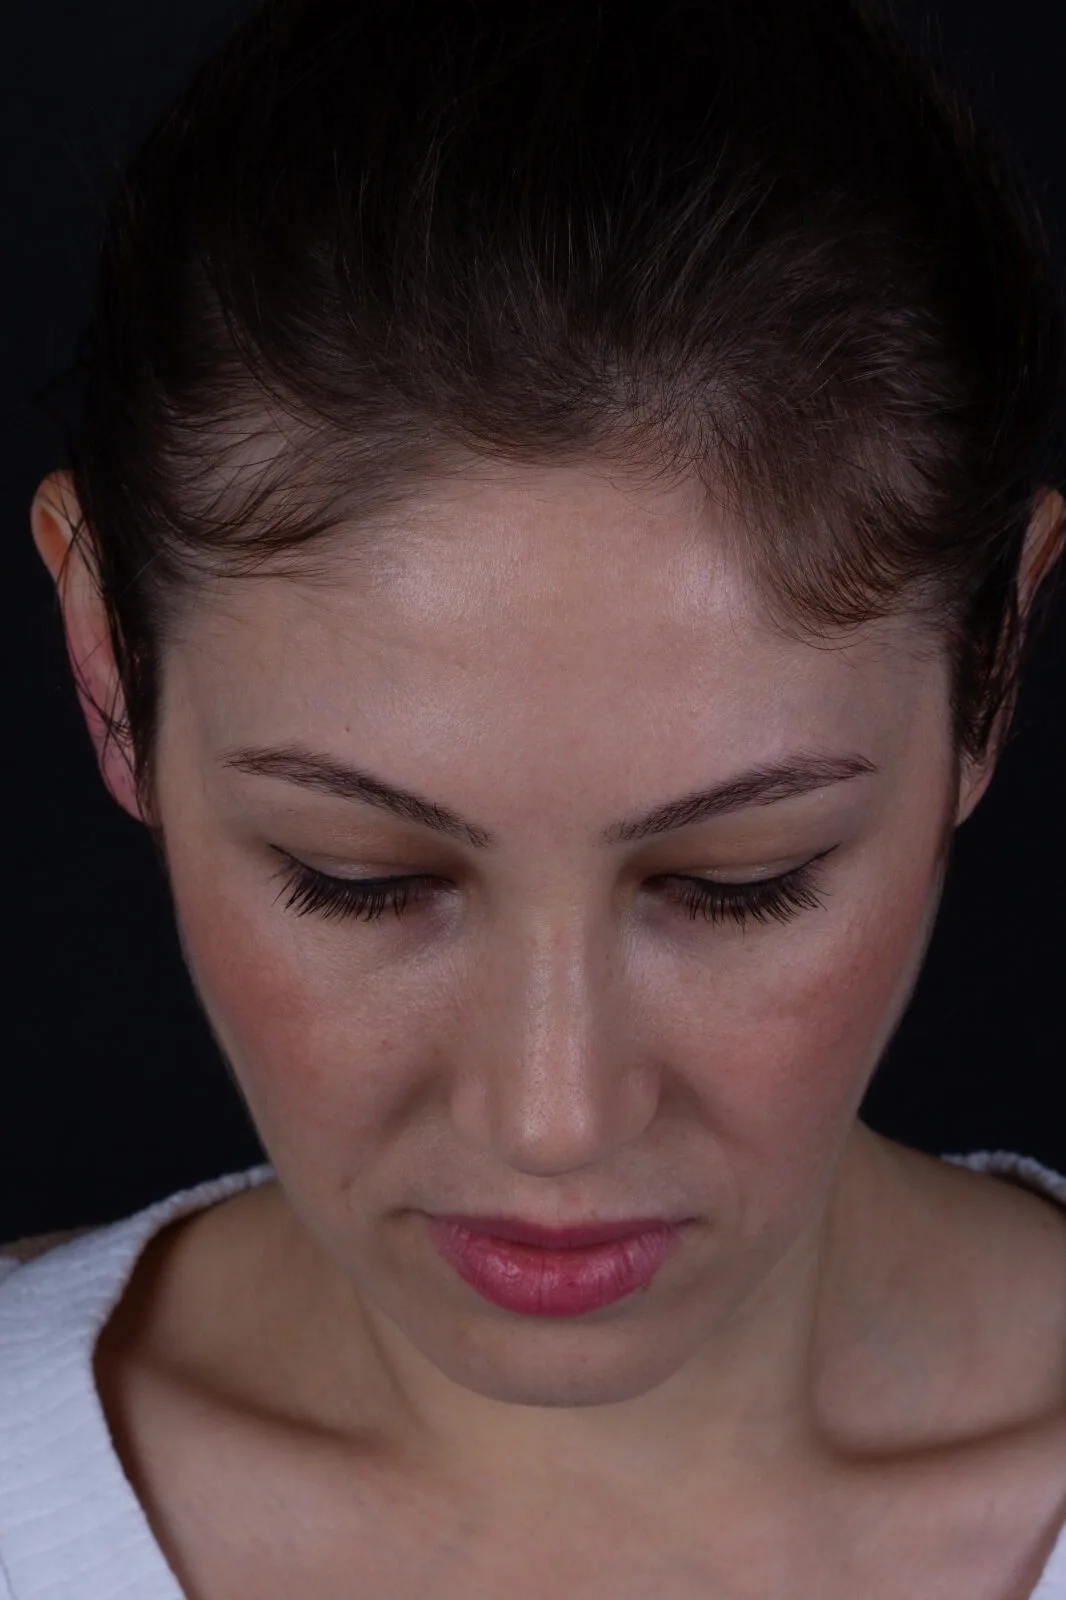
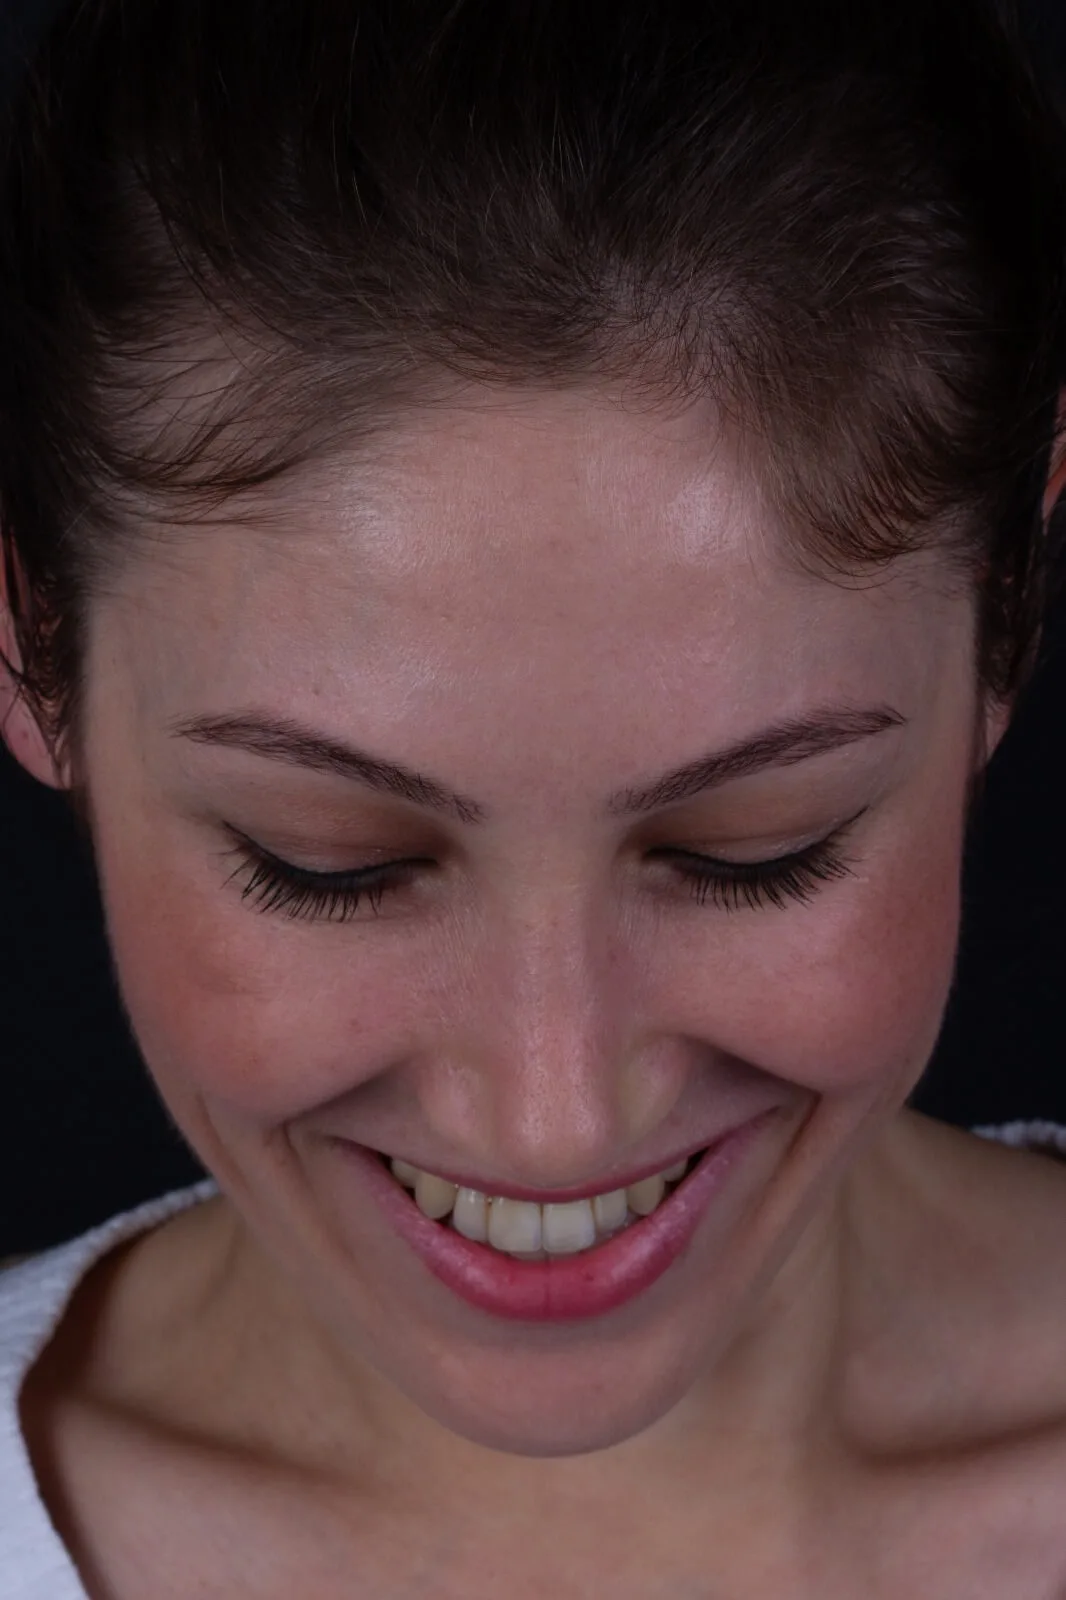
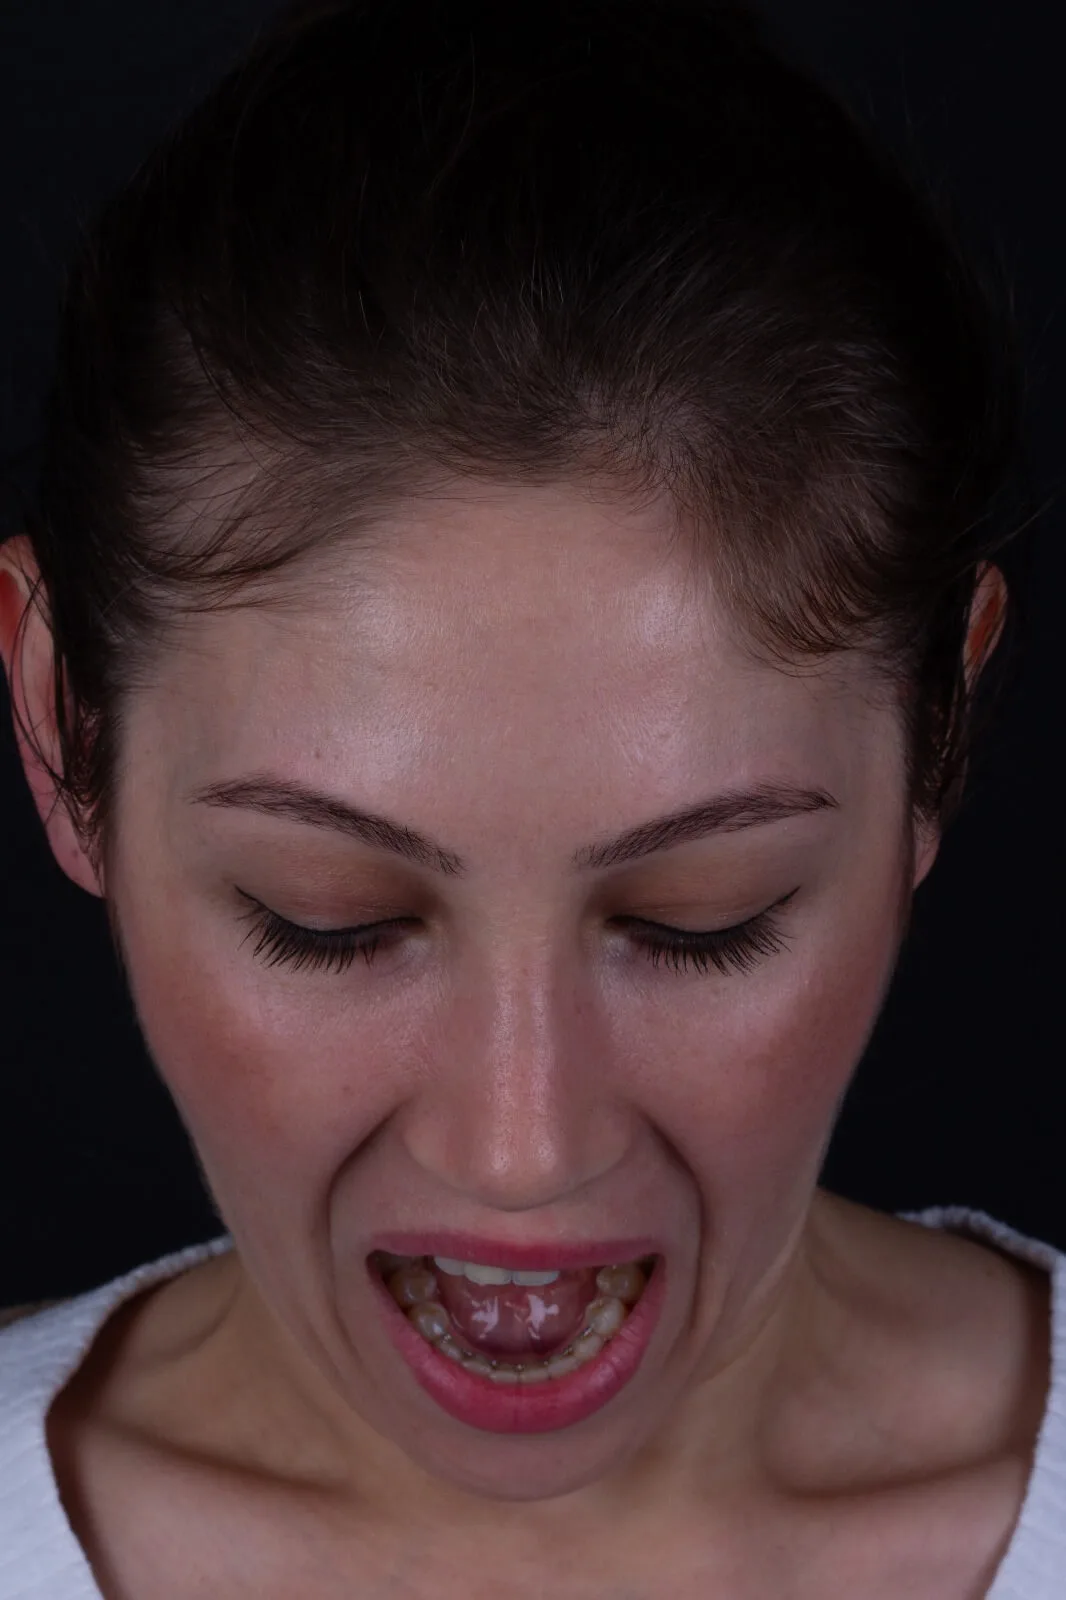
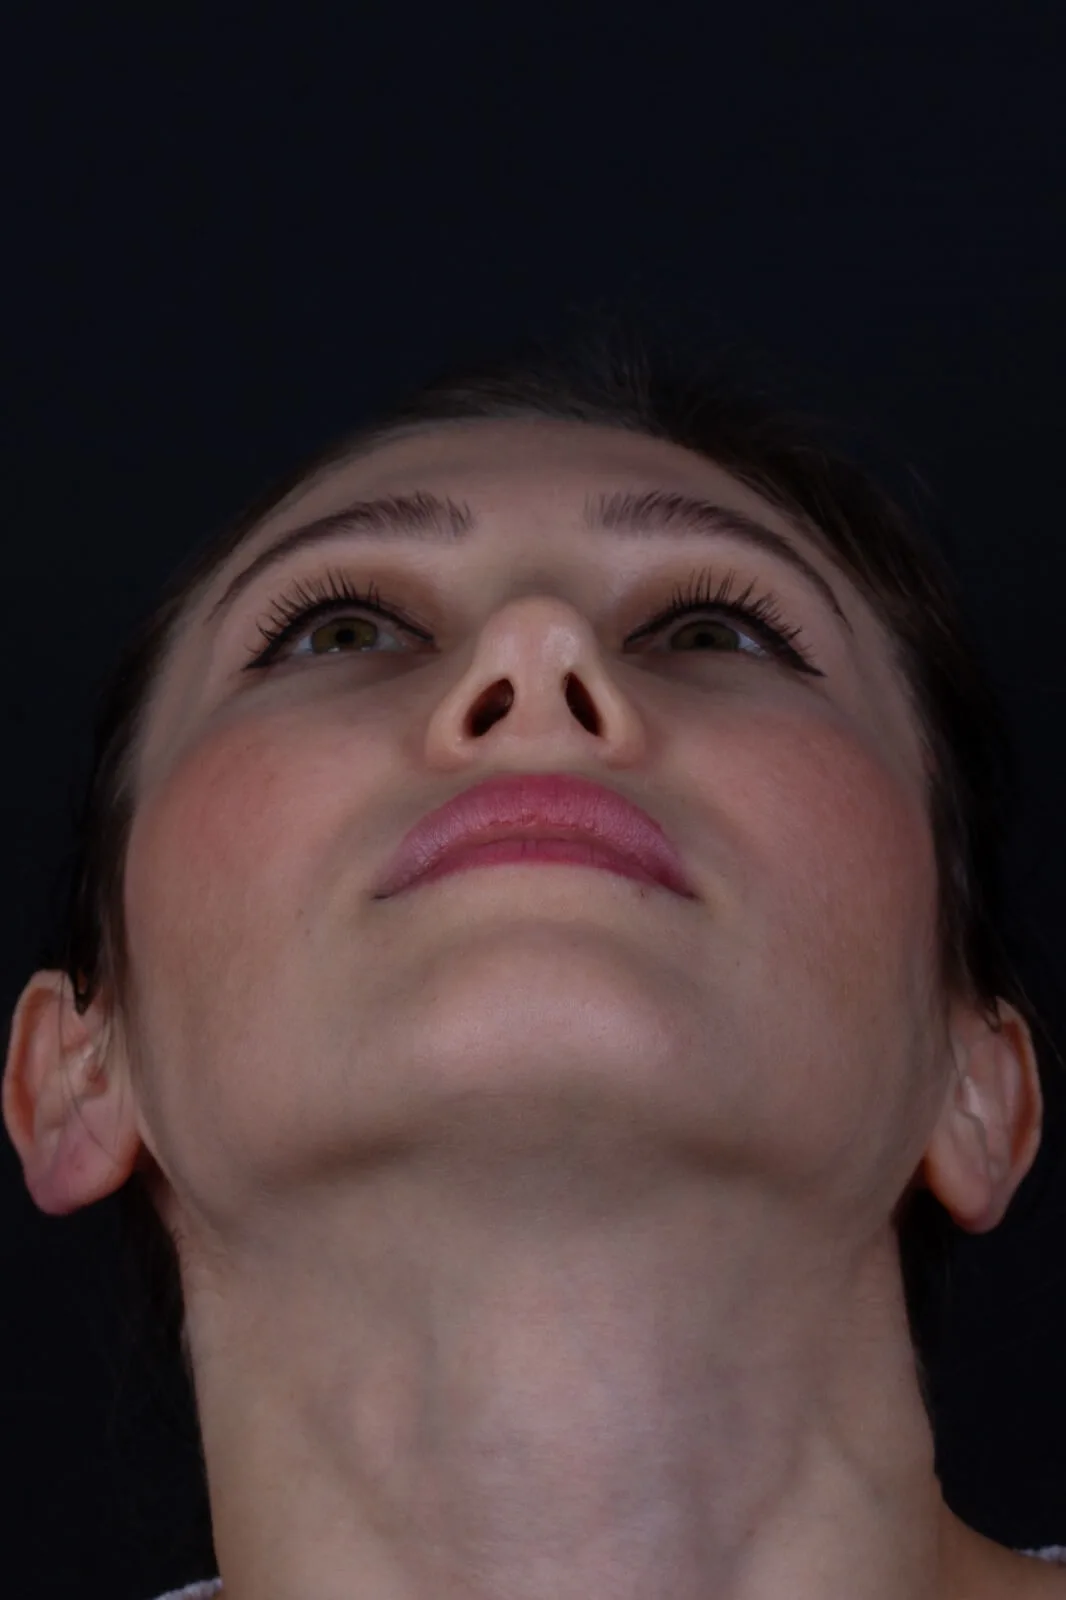
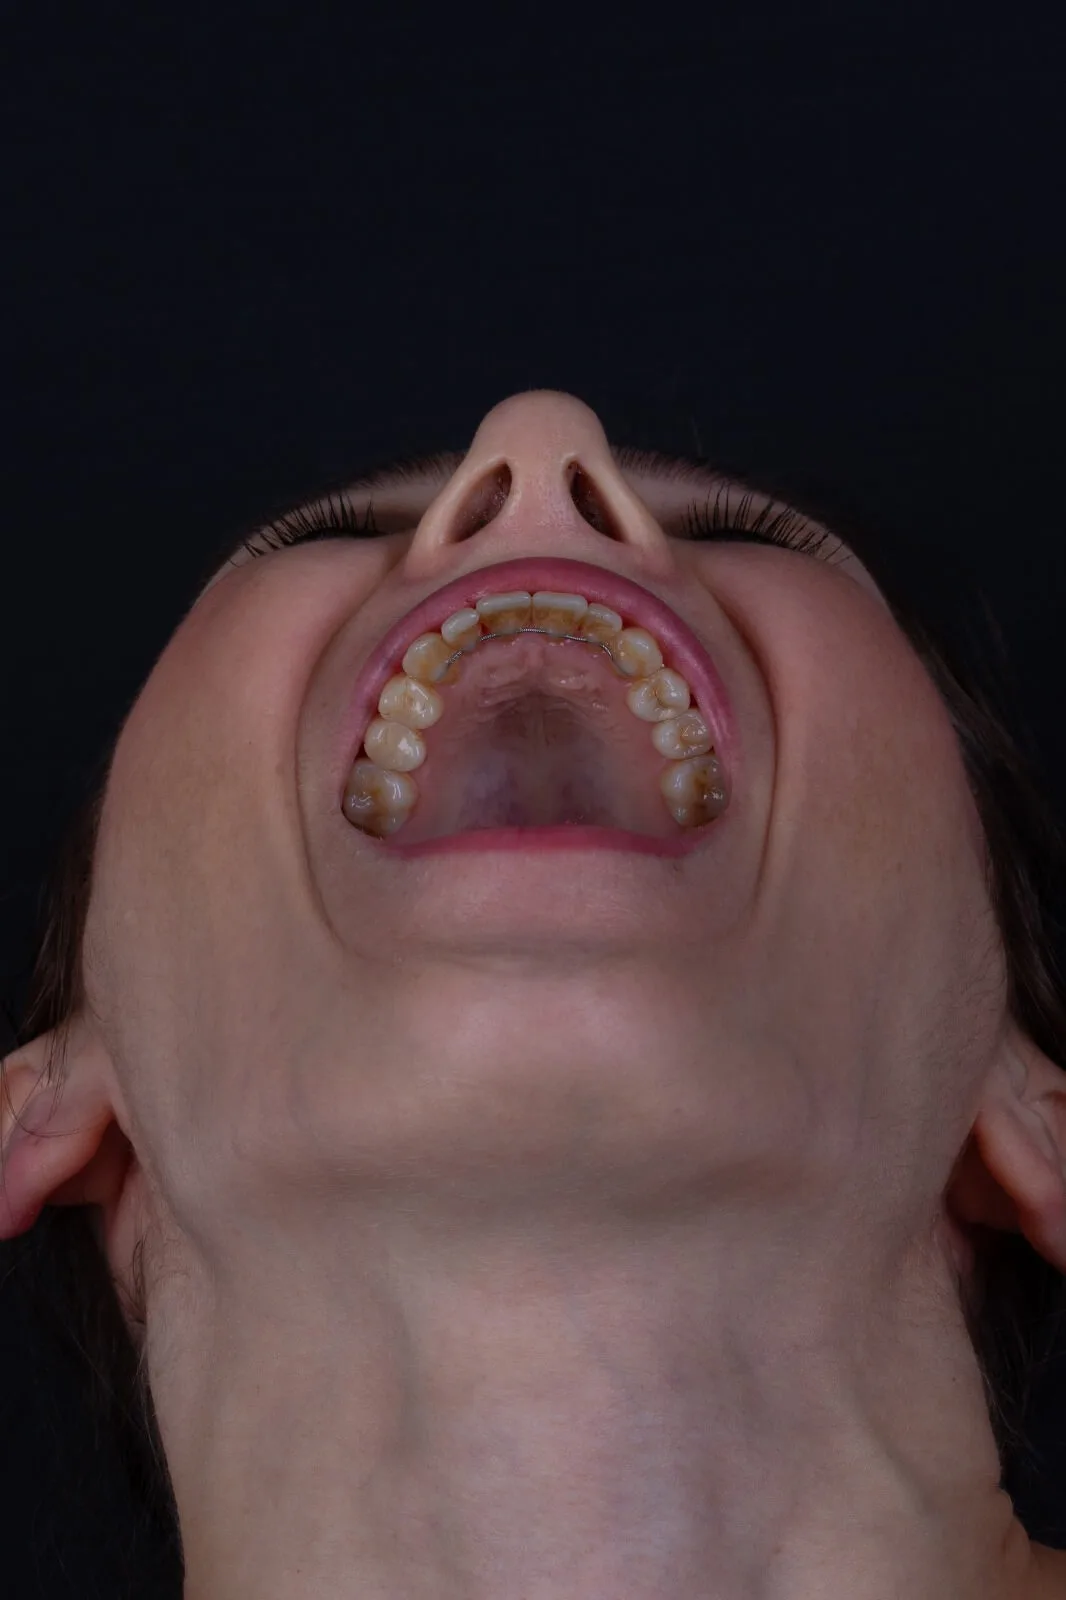
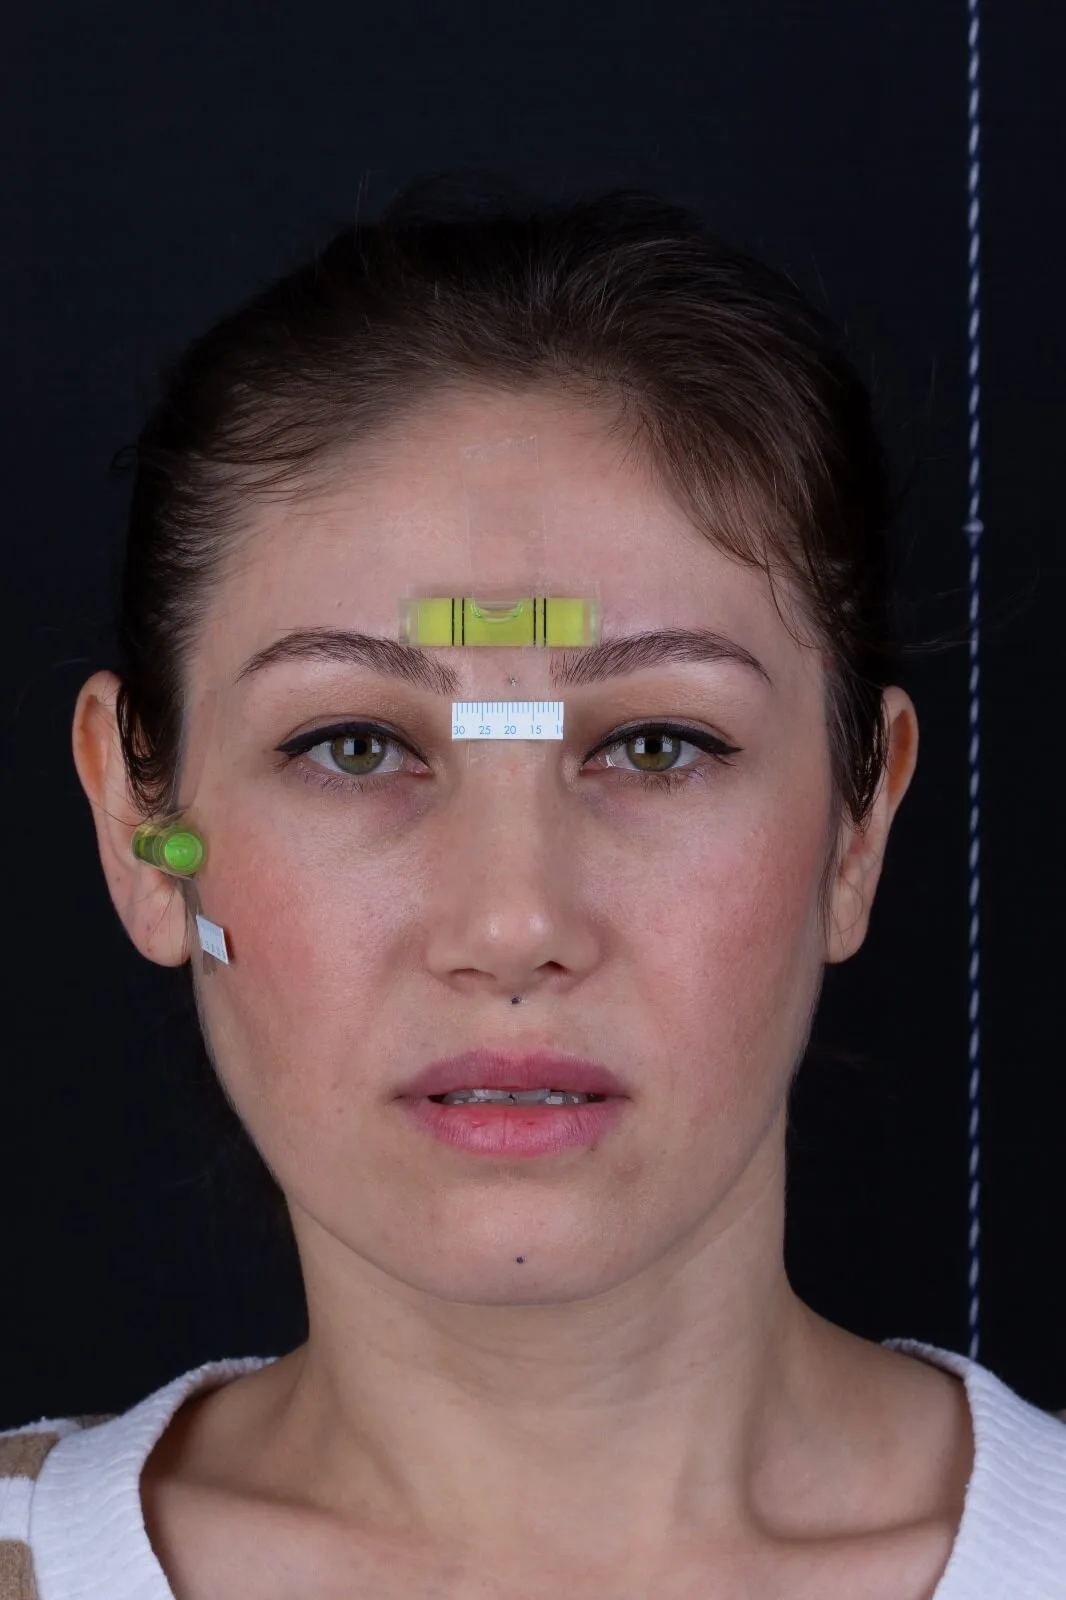
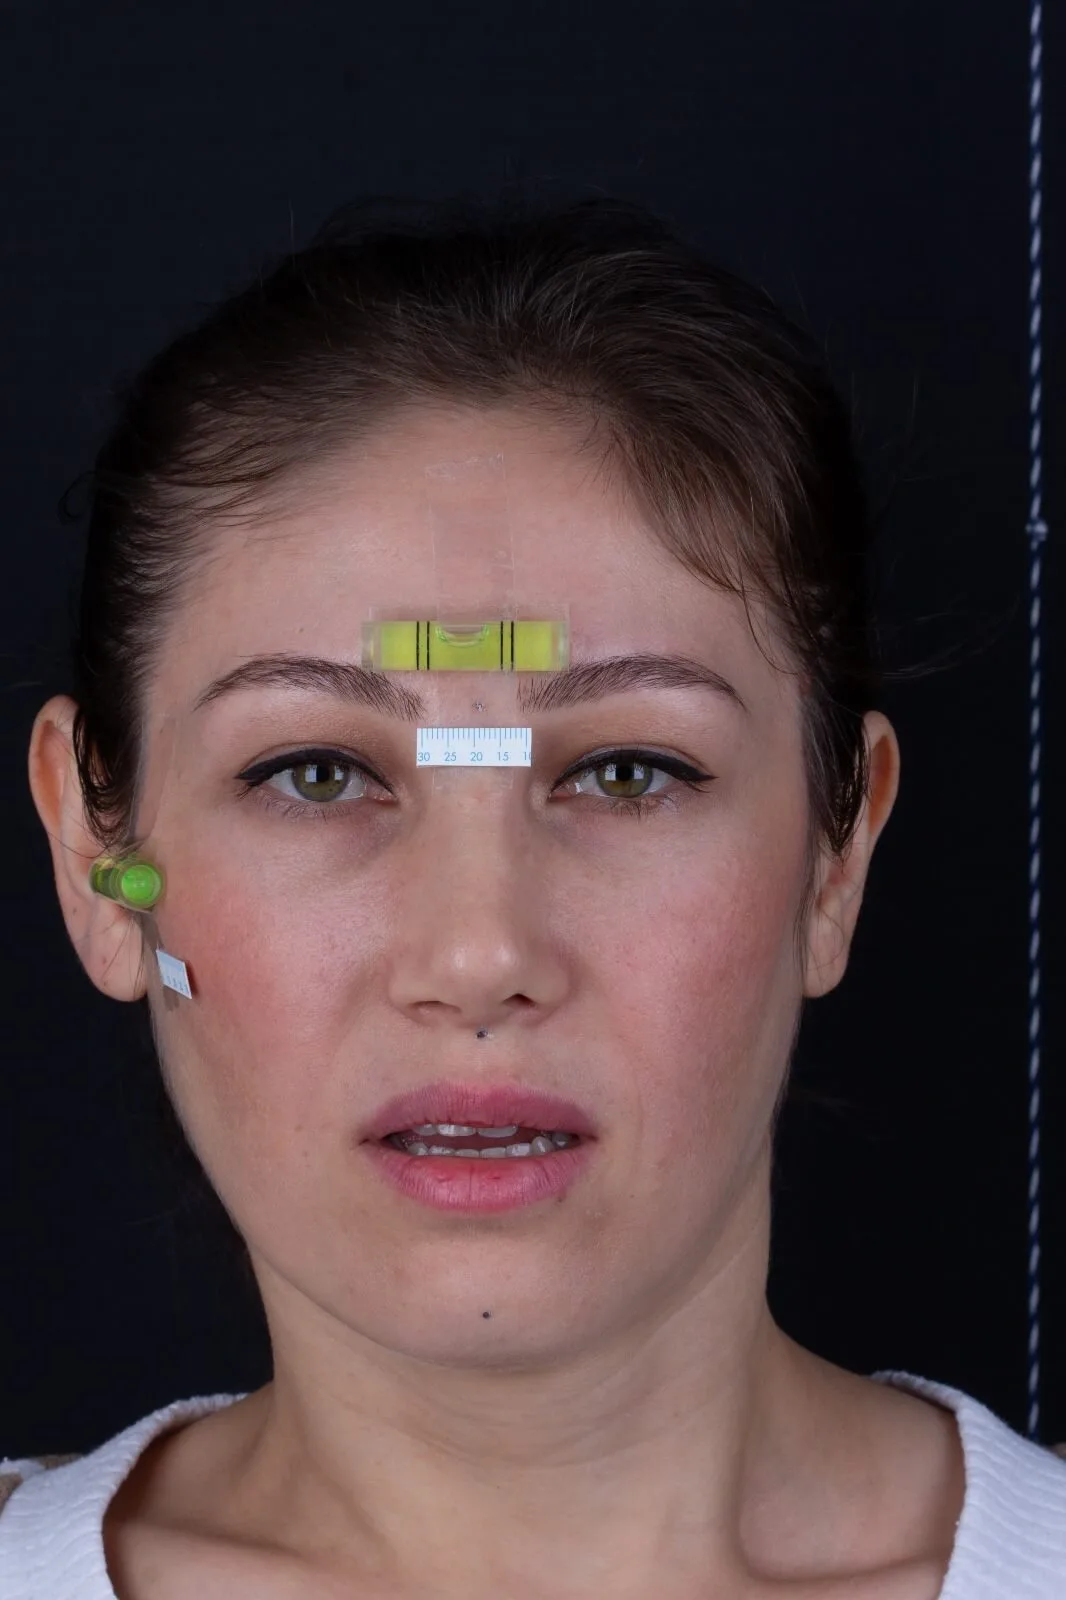
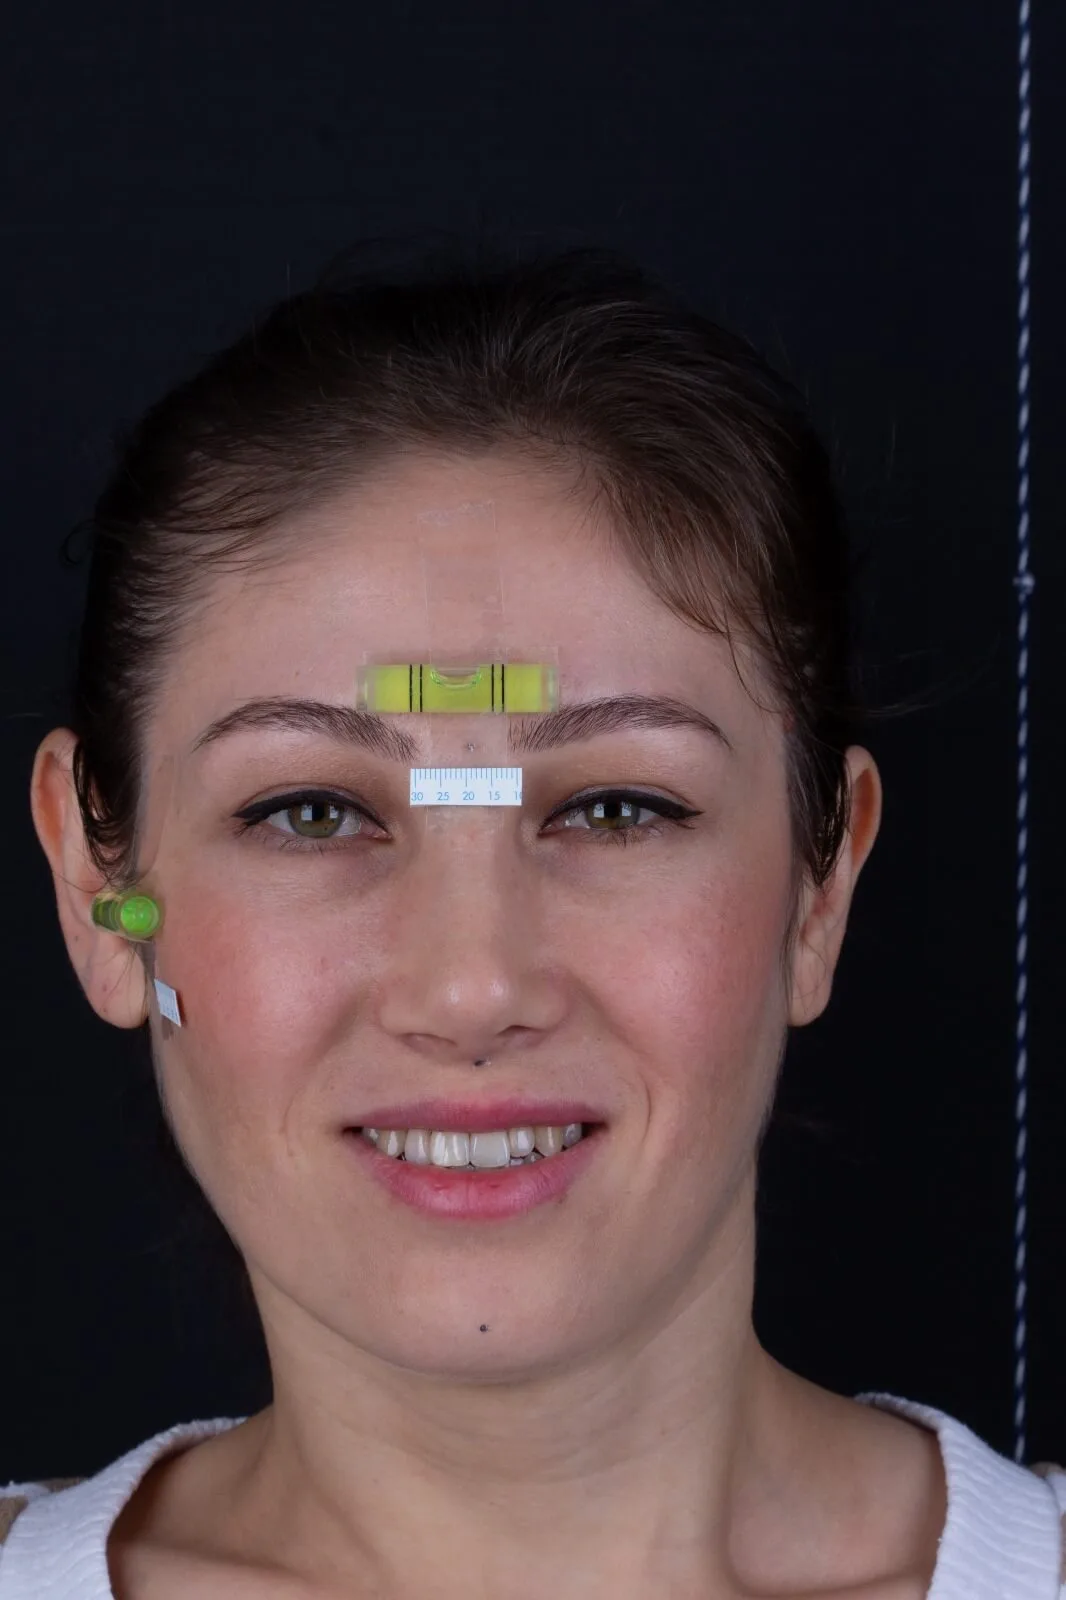
10Photographs
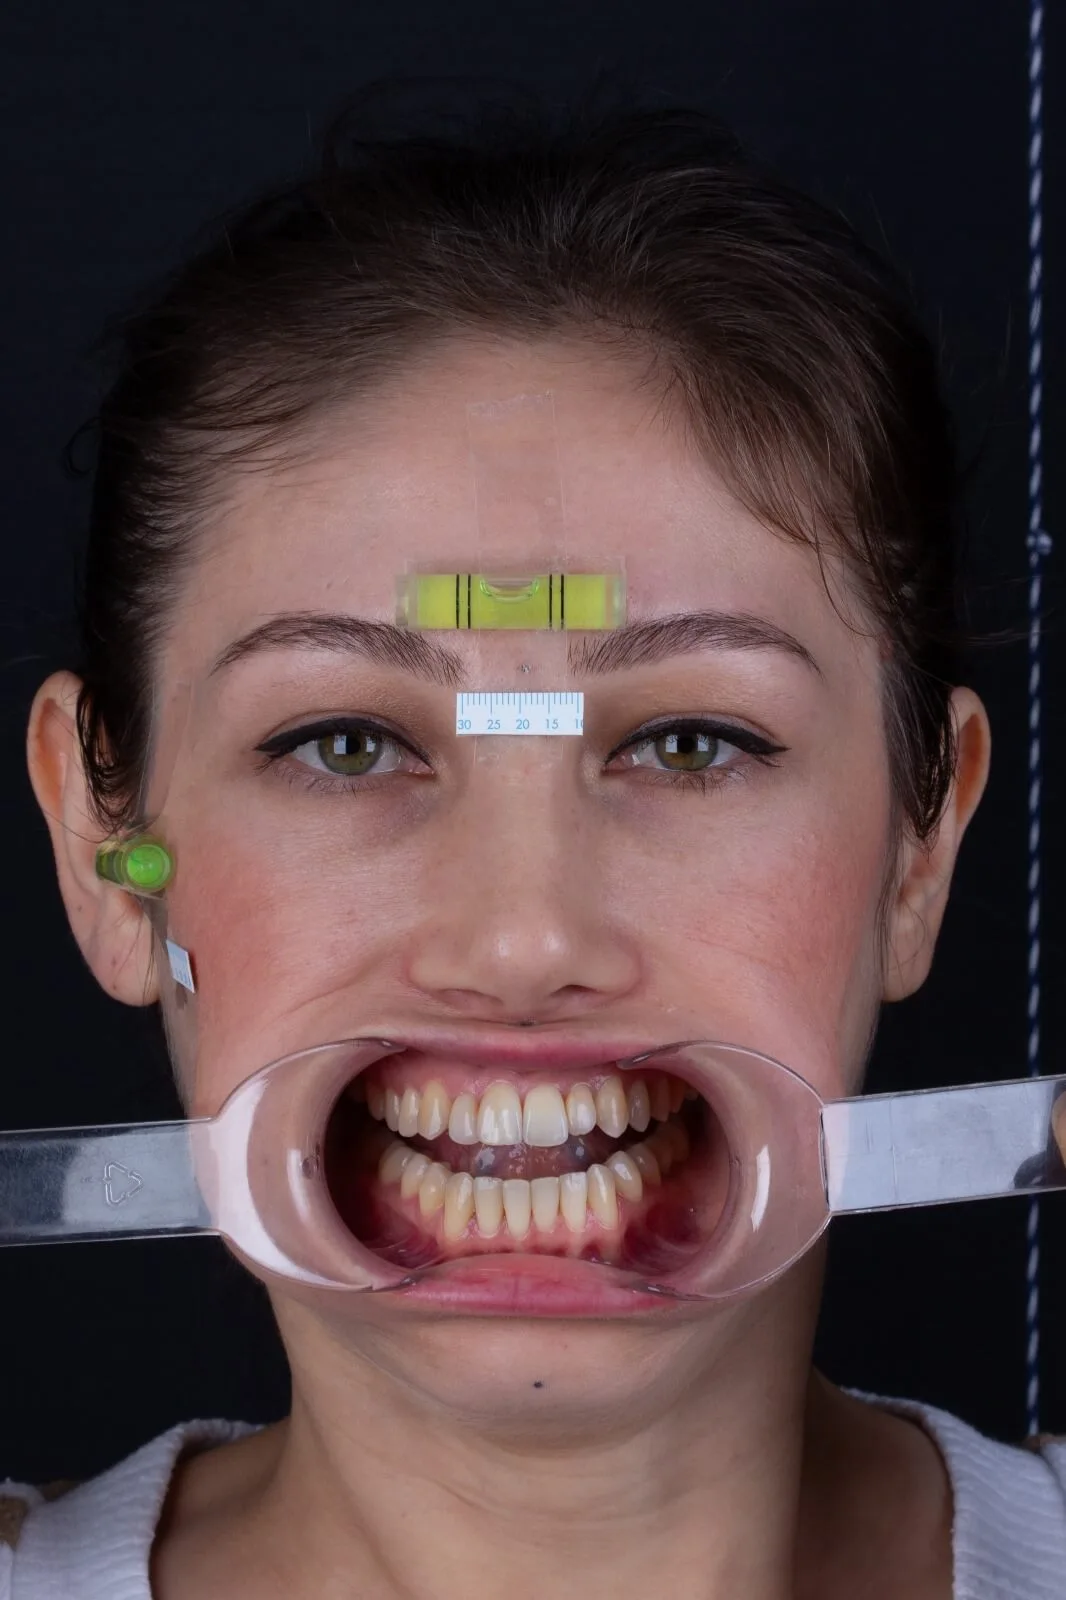
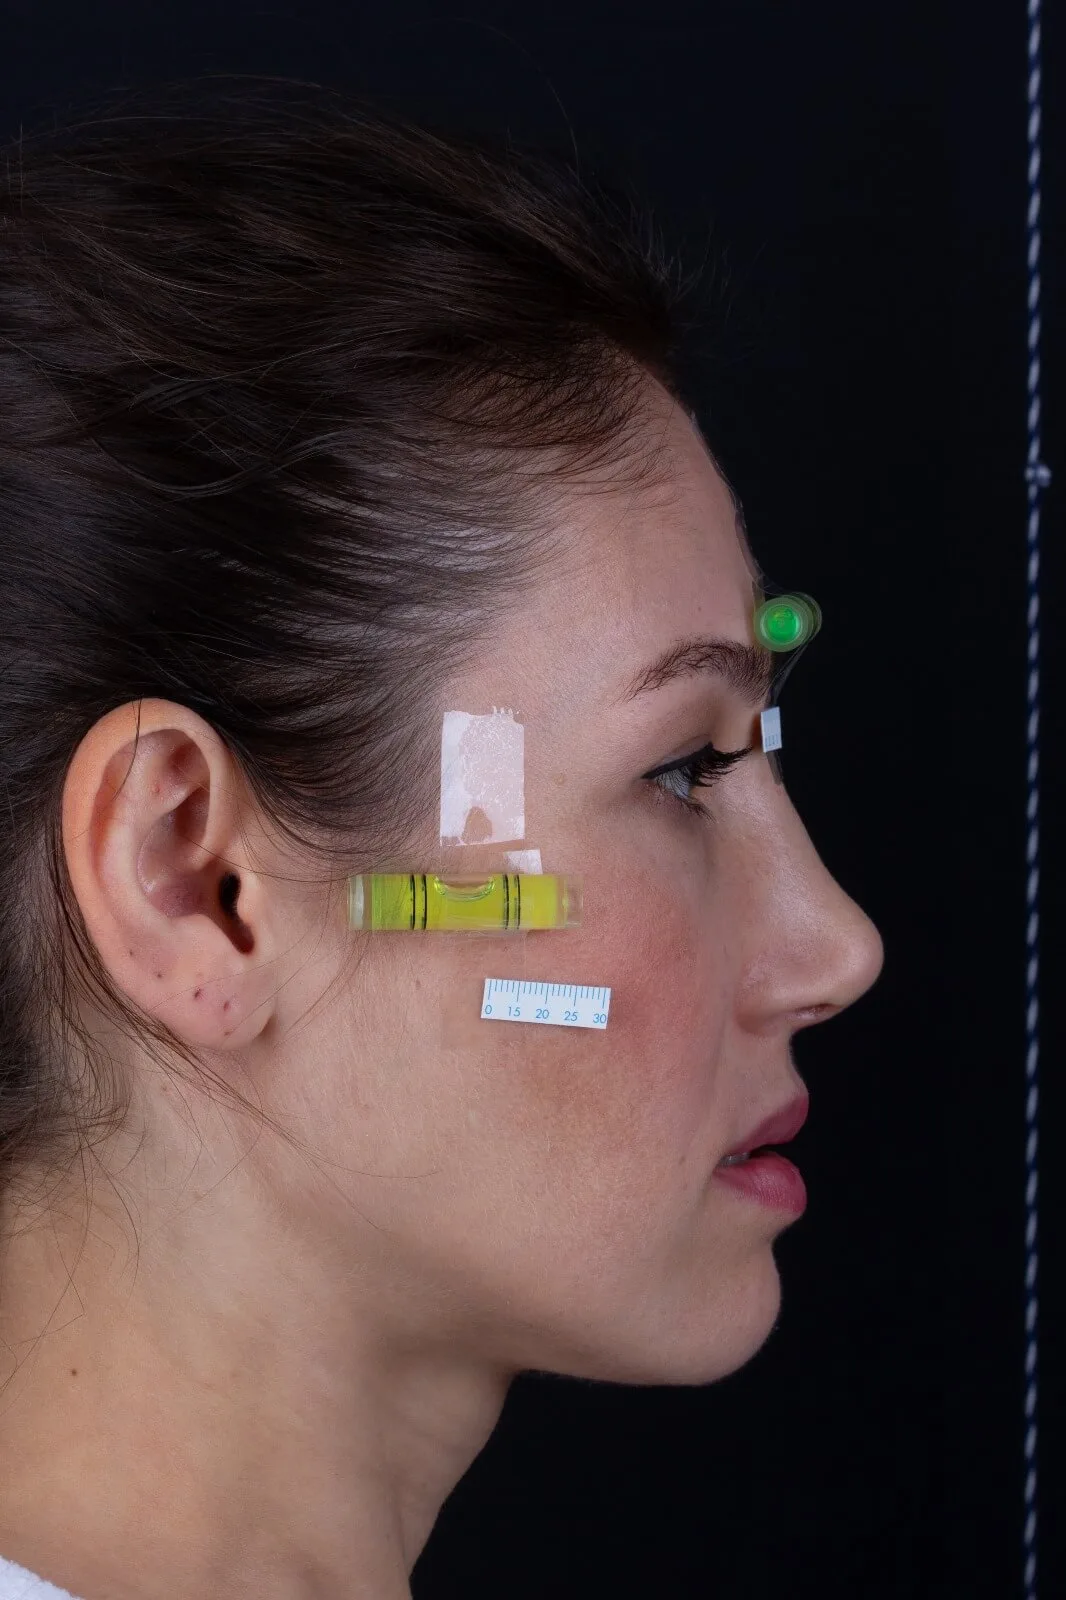
Before shooting, plastic rulers with 0.5 mm markings (preferably 20 mm long) are attached to the face just below the spirit levels, so the photographs can be calibrated on the computer.
The bite wax is placed between the teeth.
Both spirit levels must be parallel to the floor during the shots; an assistant can guide the patient’s head while you shoot.
Lips and soft tissues must be relaxed during the shots.
The camera lens should be held at eye level.
We recommend a ring/para flash for sharper photographs. Use a backdrop with a vertical reference line: hang a string with a weight at its end so the string appears in the frame — it allows the photograph to be aligned truly vertical on the computer.
The rulers are removed after the shots.
11Cone-Beam Computed Tomography (CBCT)
CBCT uses considerably lower radiation doses than conventional CT, making it safer, and a single exposure provides all the radiological images needed for planning.
We advise the patient to attend the CBCT appointment with the spirit levels still attached, so the head can be kept in NHO during the scan.
The CBCT must be exported in DICOM format.
Points to communicate to the technician:
- Occlusion should be maintained with the bite wax.
- Lips must be relaxed.
- There must be no pressure on the soft tissues.
- The chin rest of the machine must not be used.
- The markers on the soft tissue must be visible.
- The glabella, the chin-neck junction, the nose tip and the ears must remain inside the field of view (FOV).
- Head position must be set to the NHO.
- The head must be stabilised.
12Determining the Planned Post-Operative Occlusion
Bring the pre-operative models into the occlusion you want to see during surgery and scan them: this gives the patient’s final occlusion, which defines the target occlusion of the 3D virtual surgical plan.
13Conclusion
Once your records reach us, we organise them in the virtual environment, complete the analyses and finalise the surgical plan. We then hold an online meeting with you and the surgeon to review and finalise the plan.
Once everyone agrees on the surgical plan, we produce the splints and ship them to your address.
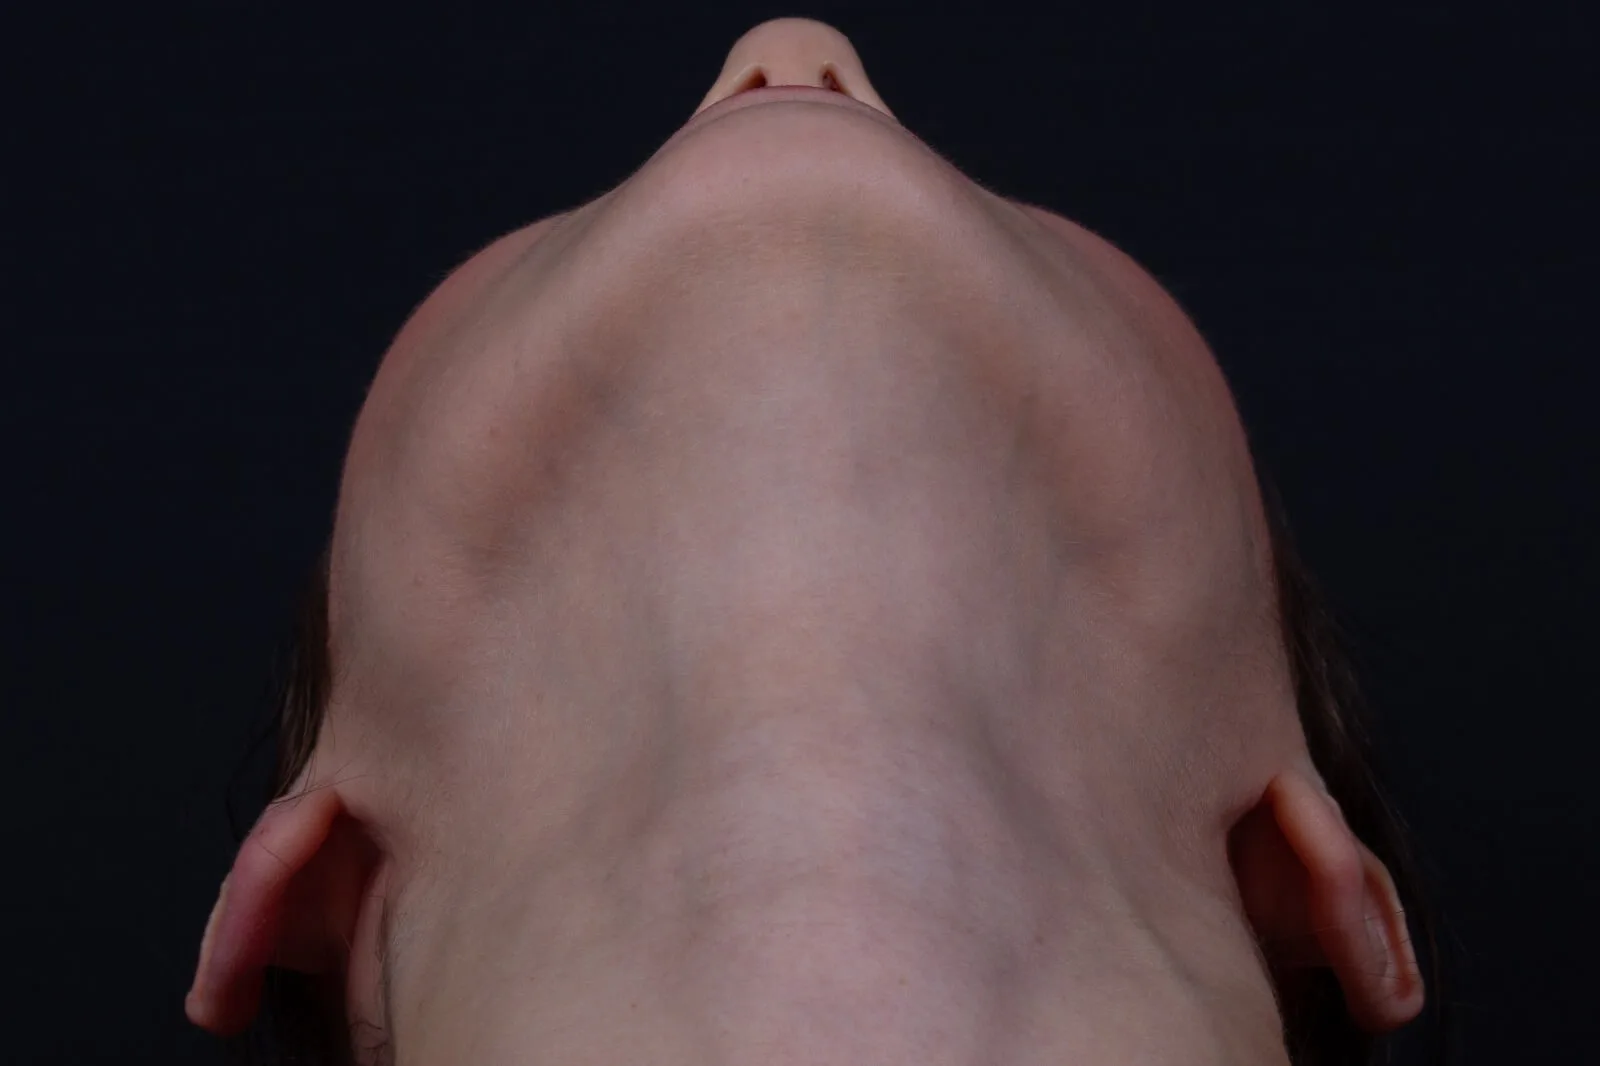
Example Photographs
The photograph set required for planning — each frame is captioned.